Sage 300 CRE Authentication
To authorize access to make API requests between your product and Sage 300 Construction and Real Estate (CRE) through Agave, you will need to complete the following steps:
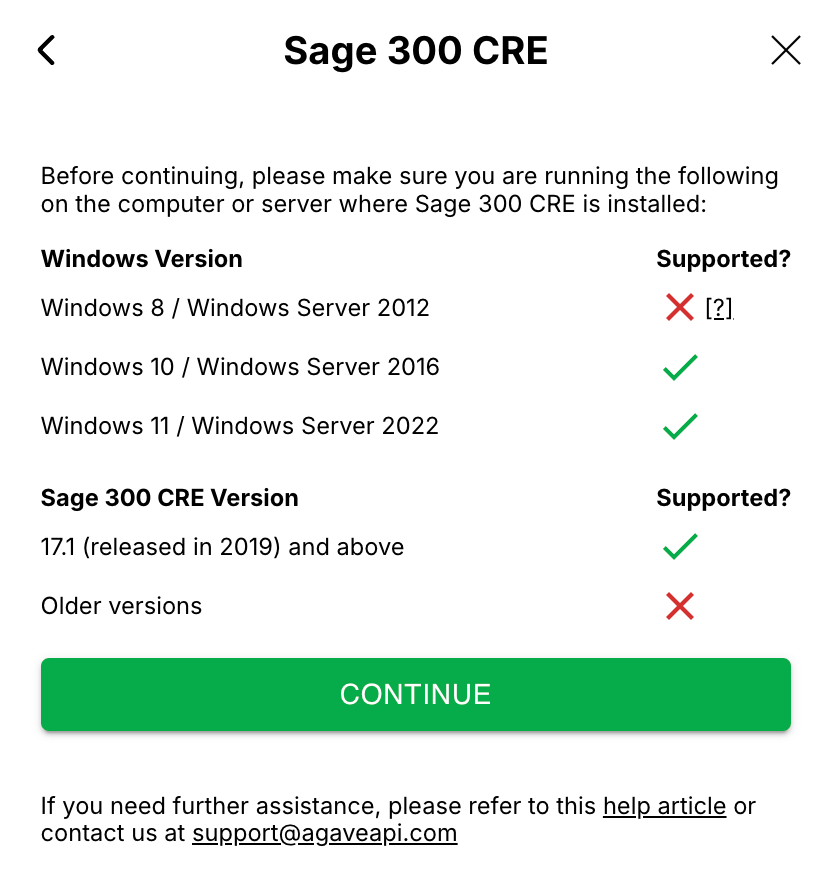
Before installing the Agave Connector, we recommend confirming you are on a supported version of Windows.
Step 1: Install Agave connector
The Agave Connector app is a standalone application that you can install in a Windows environment, under a specific user account, and can be used to connect to on-premise applications like Sage 300 CRE.
We recommend installing the Agave Connector on the server used to host Sage 300 CRE instead of a user's workstation.
We recommend installing the Agave Connector using a dedicated or shared Windows user account, so more of your team members can get access to it.
To install and run the Agave Connector app:
-
Contact the Agave team at support@agaveapi.com for a link to download the .exe file.
-
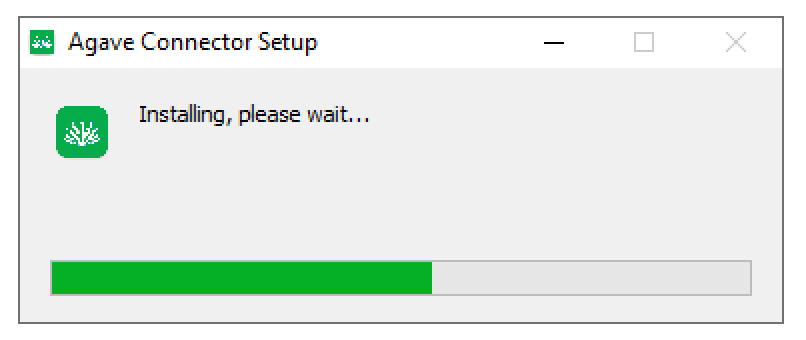
Download the .exe file and open it. You will see the following install screen appear:
-
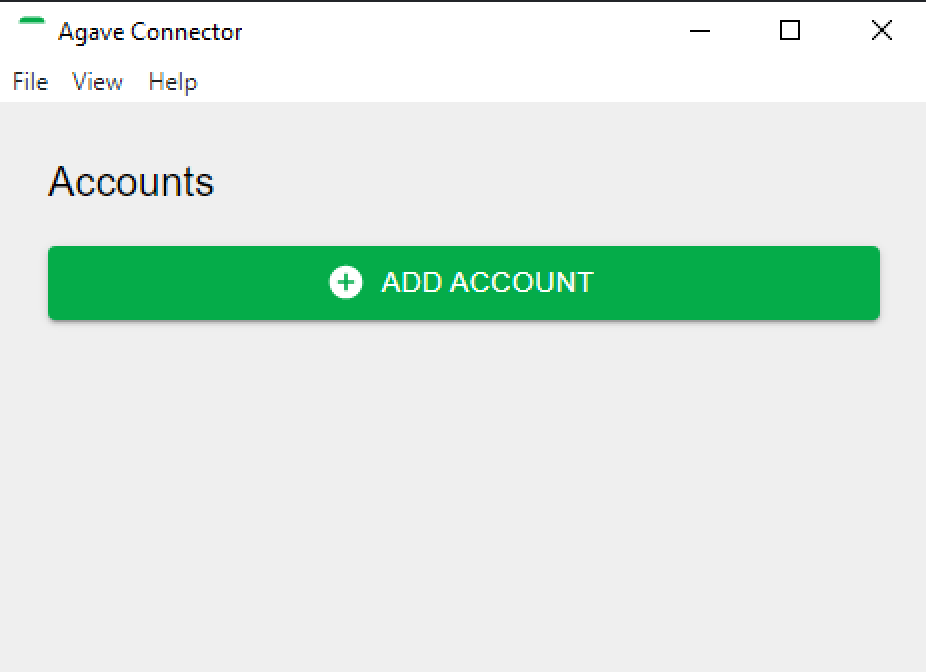
After installation, the Agave Connector app will open and appear in your Desktop folder:
Step 2: Identify your Sage 300 CRE Company Filepath
To identify your Sage 300 CRE Company filepath:
-
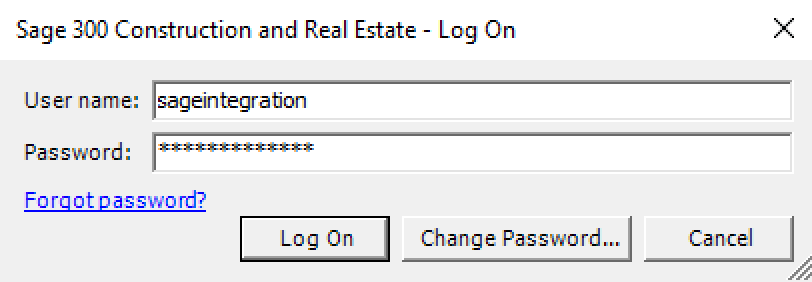
Log in to Sage 300 CRE.
-
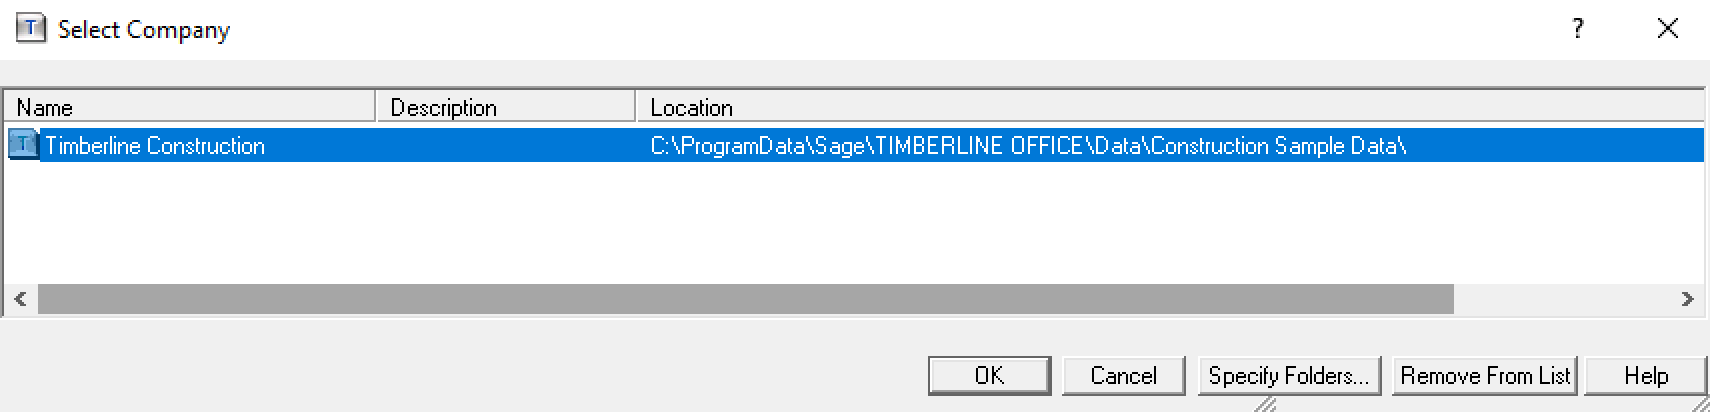
In the Select Company window, note the text from the Location column.
Step 3: Create Dedicated Sage 300 CRE User
We recommend creating a dedicated Sage 300 CRE User with Security Administrator and Application Administrator privileges to isolate this user to the Agave Connector.
To create a dedicated User:
-
In Sage 300 CRE, go to Options then Security Administration:
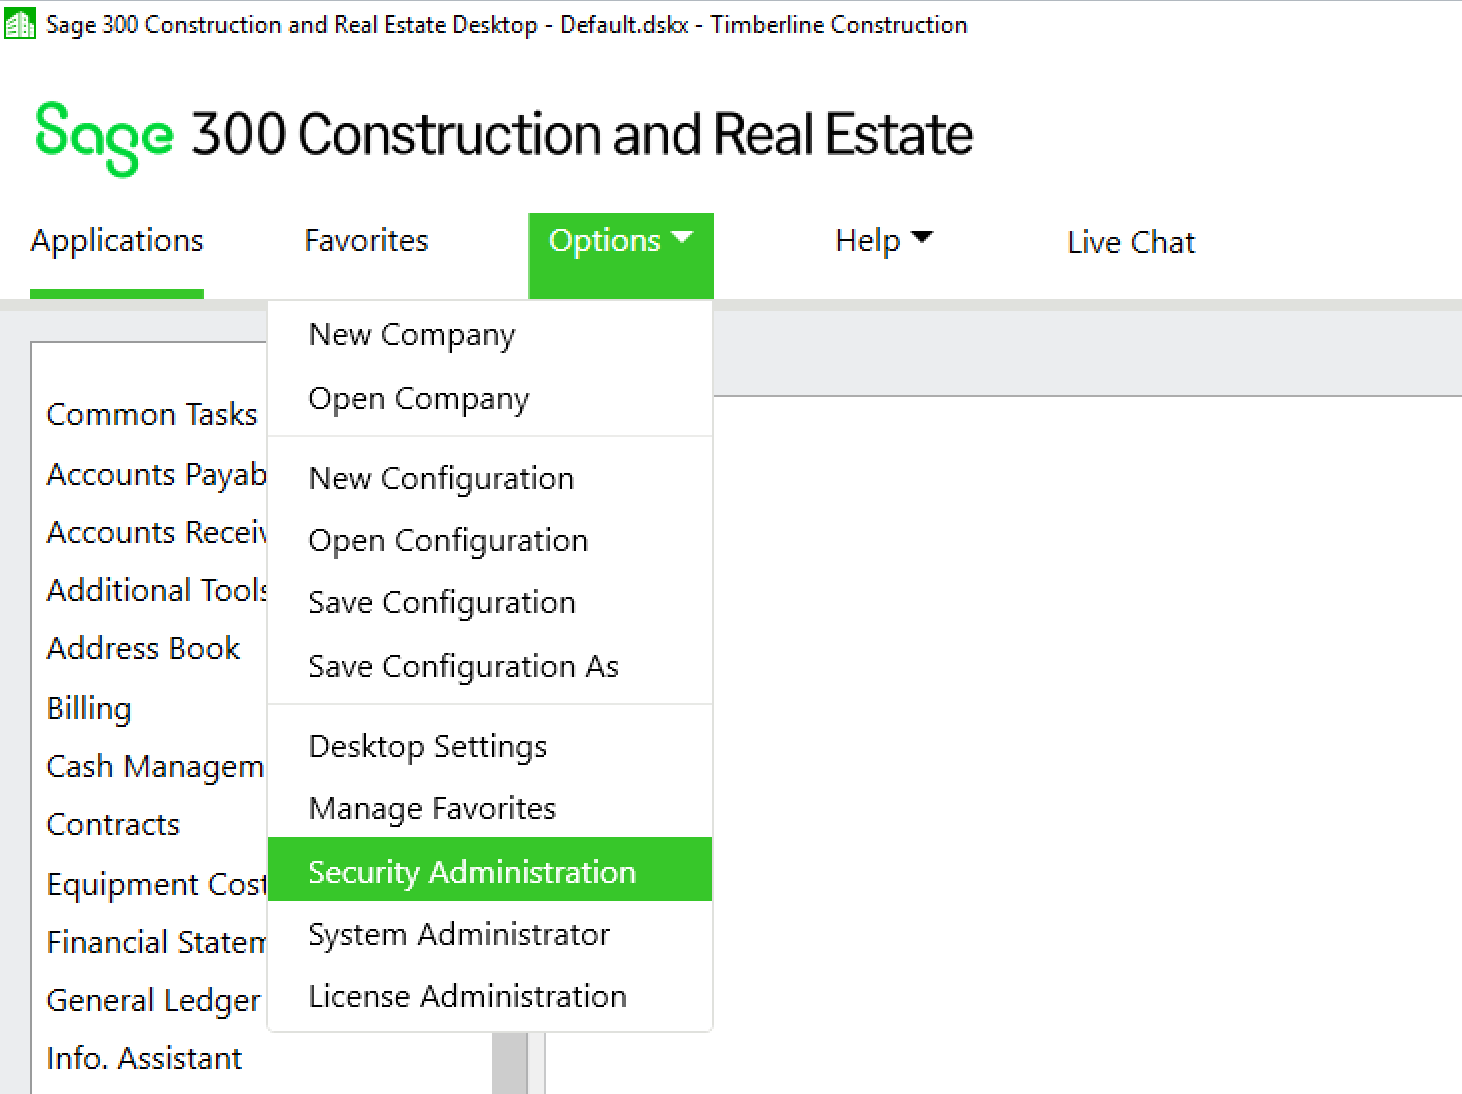
-
Select User Setup:
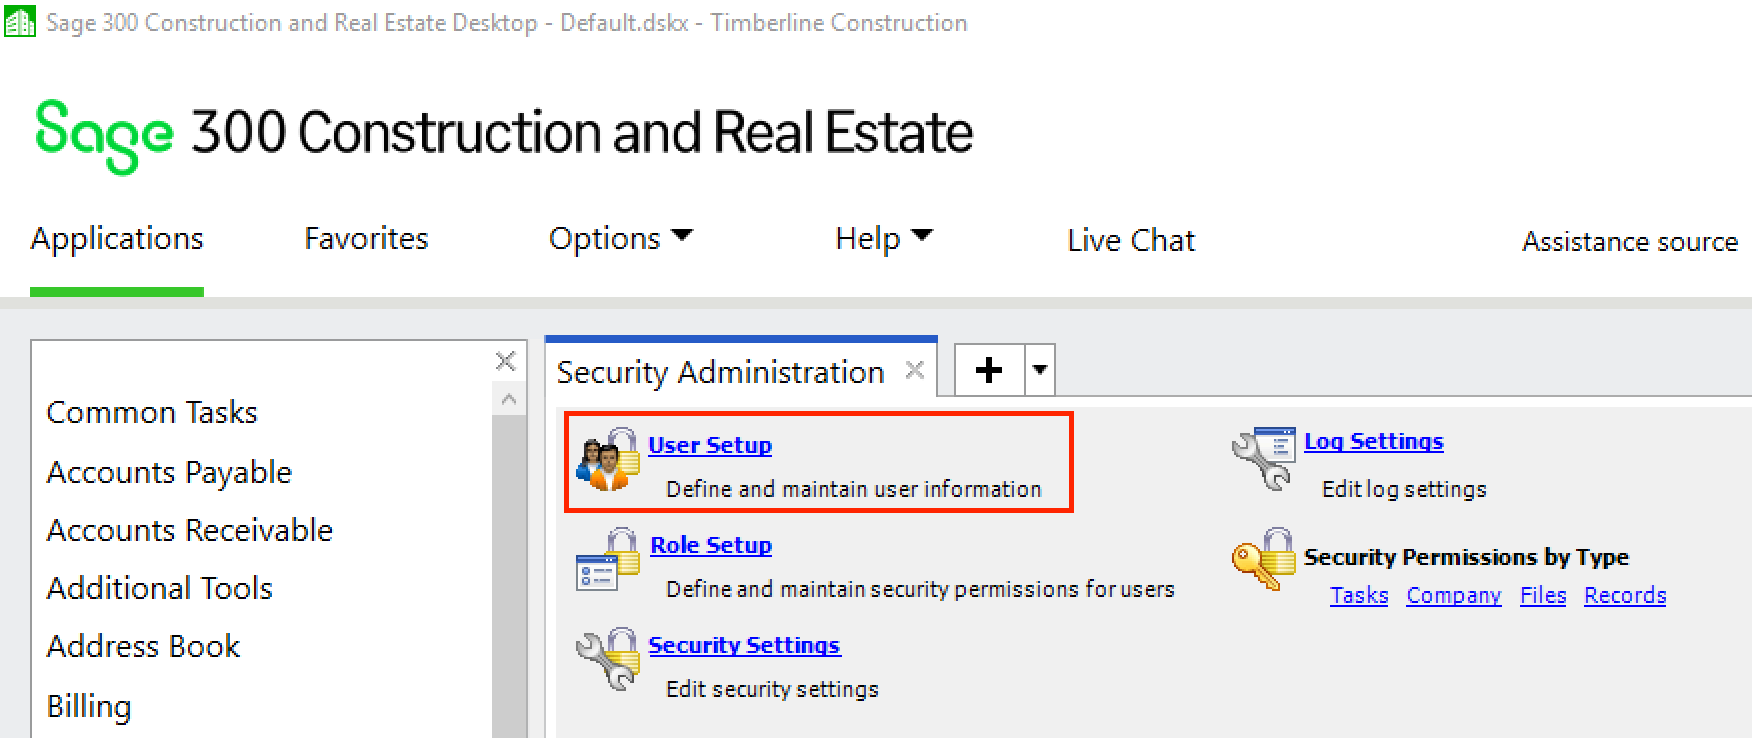
-
Select Add. Under User Details:
- Add a User name and Full name, and specify a Windows User to be associated with the new User
- Under User Account Settings, select "Account is available during the specified period" with an Ending of "Never"
- Under Password Settings, select "Password Never Expires"
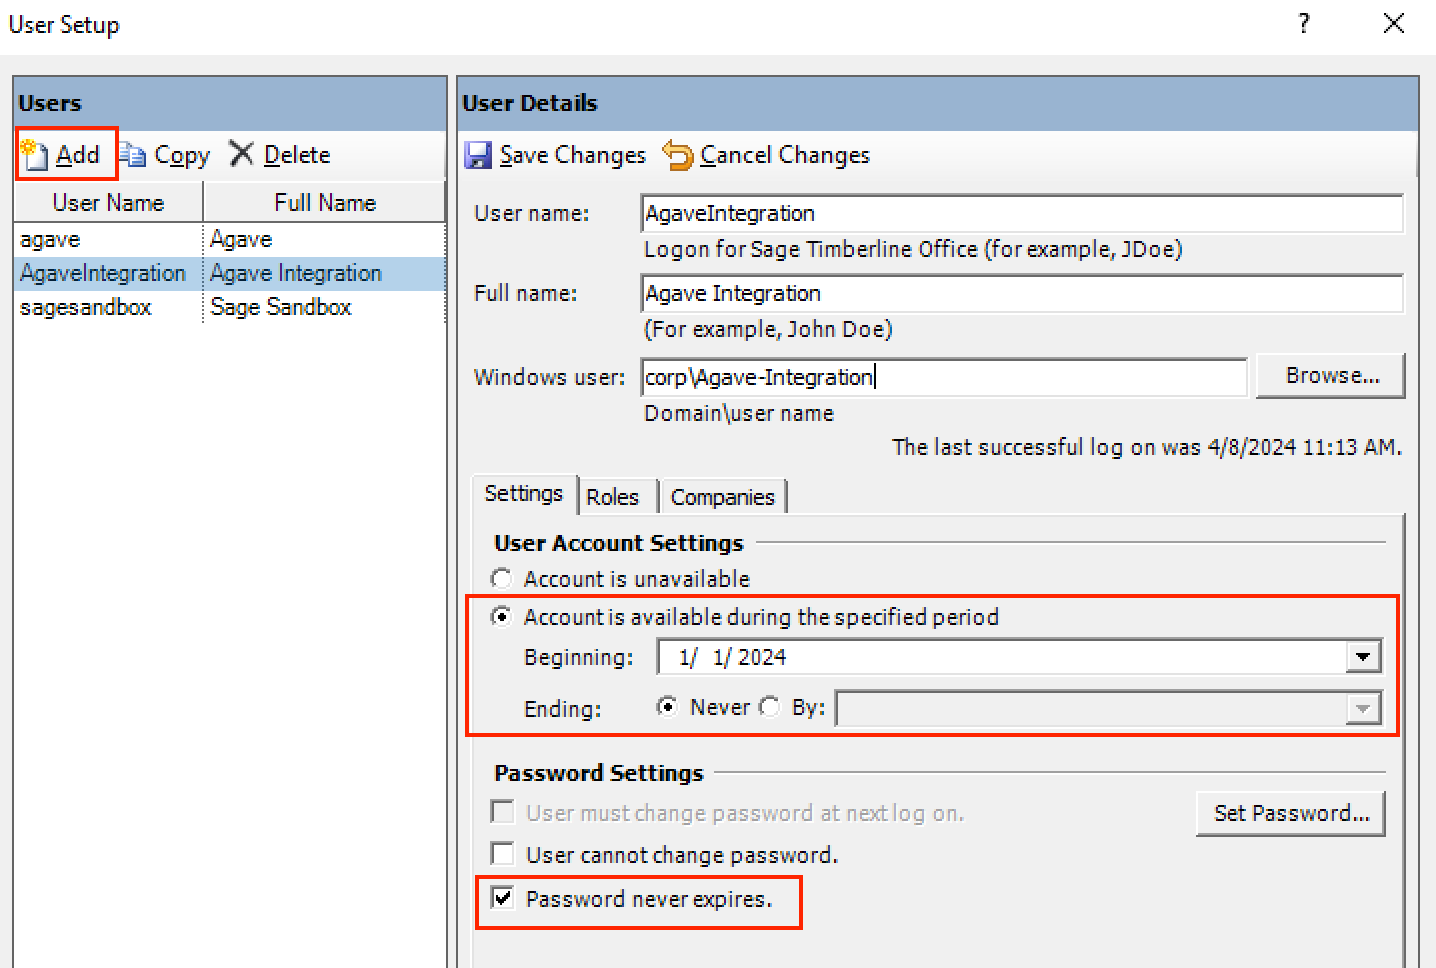
- Select the Roles tab, and check "Application administator", "ODBC R/W", and "Security Administrator".
- Press Save Changes.
Step 4: Authenticate with Sage 300 CRE
For a user to authenticate with their Sage 300 CRE instance from your product, they will need to complete the following steps:
-
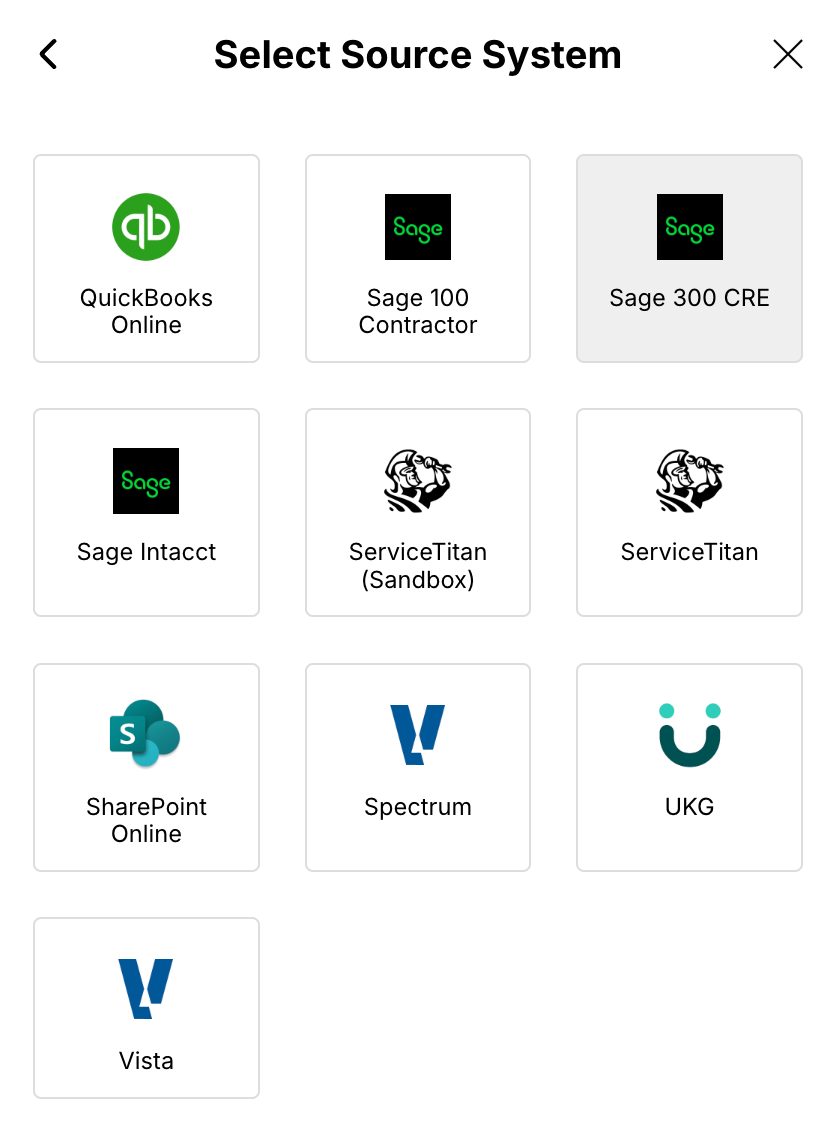
From your application, open Agave Link and press “Sage 300 CRE”:
-
Confirm you meet the requirements for the integration and select "Continue":
-
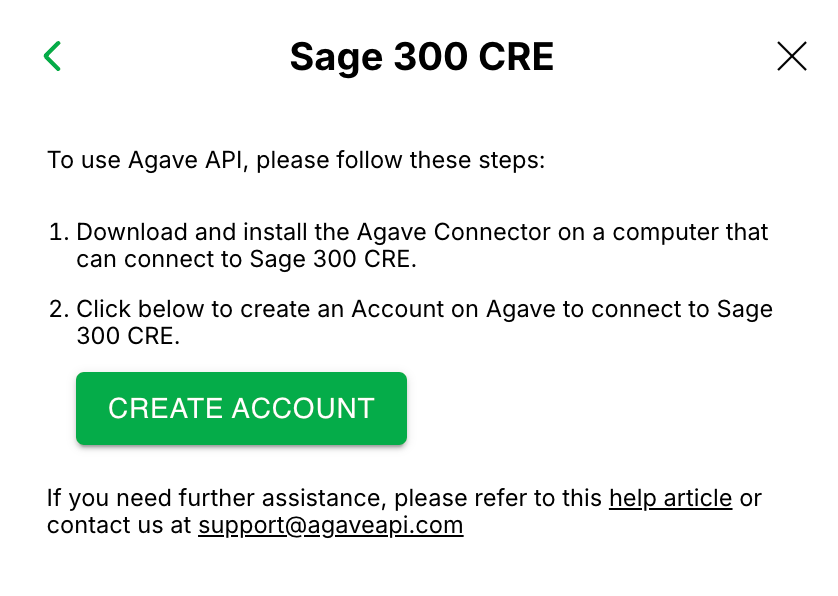
Select "Create Account":
-
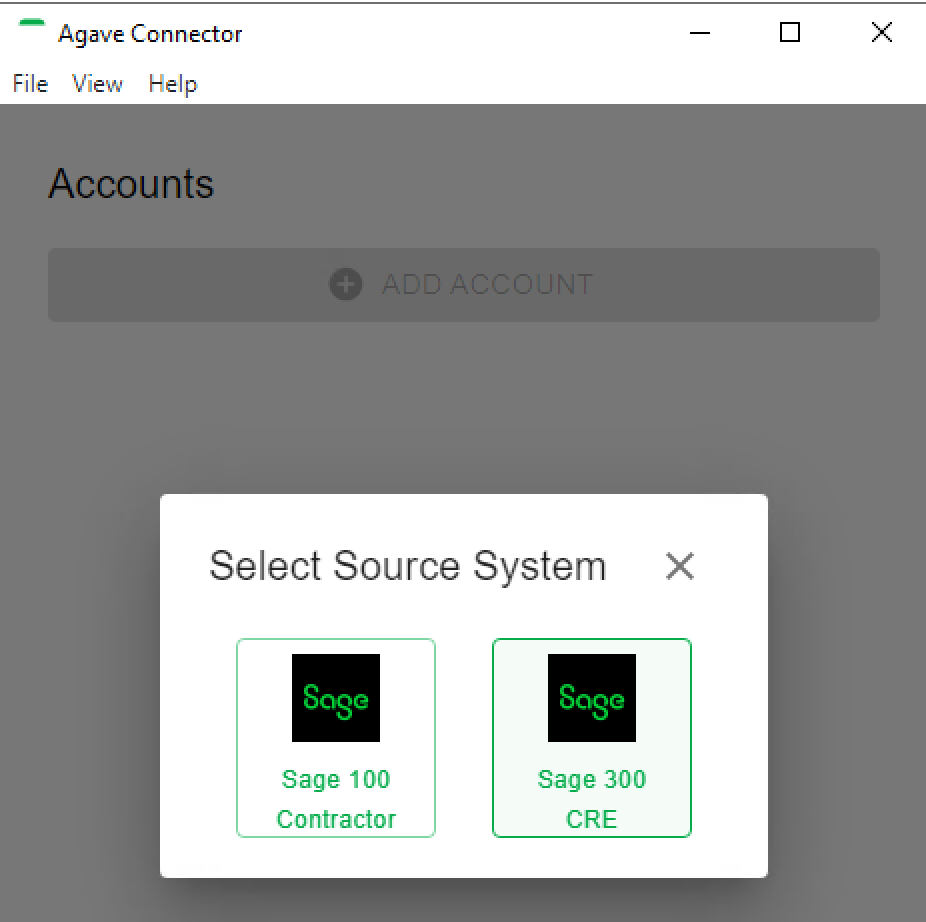
In parallel, open the Agave Connector app and select “Add Account”, then select Sage 300 CRE:
-
Input details for connecting to your Sage 300 CRE instance, then press Test and Save.
- Filepath: this should auto fill with your company name
- If it doesn't load, check
C:\ProgramData\Sage\Timberline Office\9.5\Shared\Config\CpL.xsrand make sure it contains the correct companies and file paths.
- If it doesn't load, check
- Username: this is the User you used to log into Sage 300 CRE.
- Password: this is the password you used to log into Sage 300 CRE.
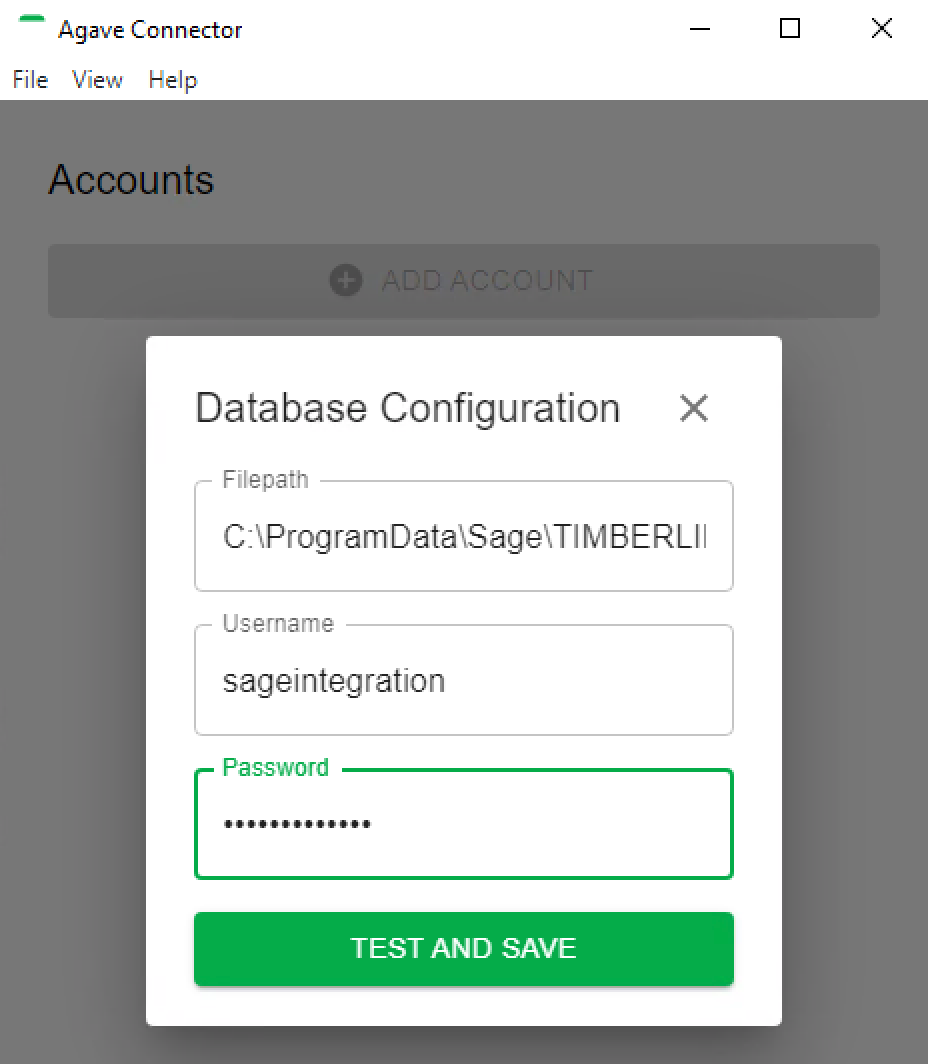
- Filepath: this should auto fill with your company name
-
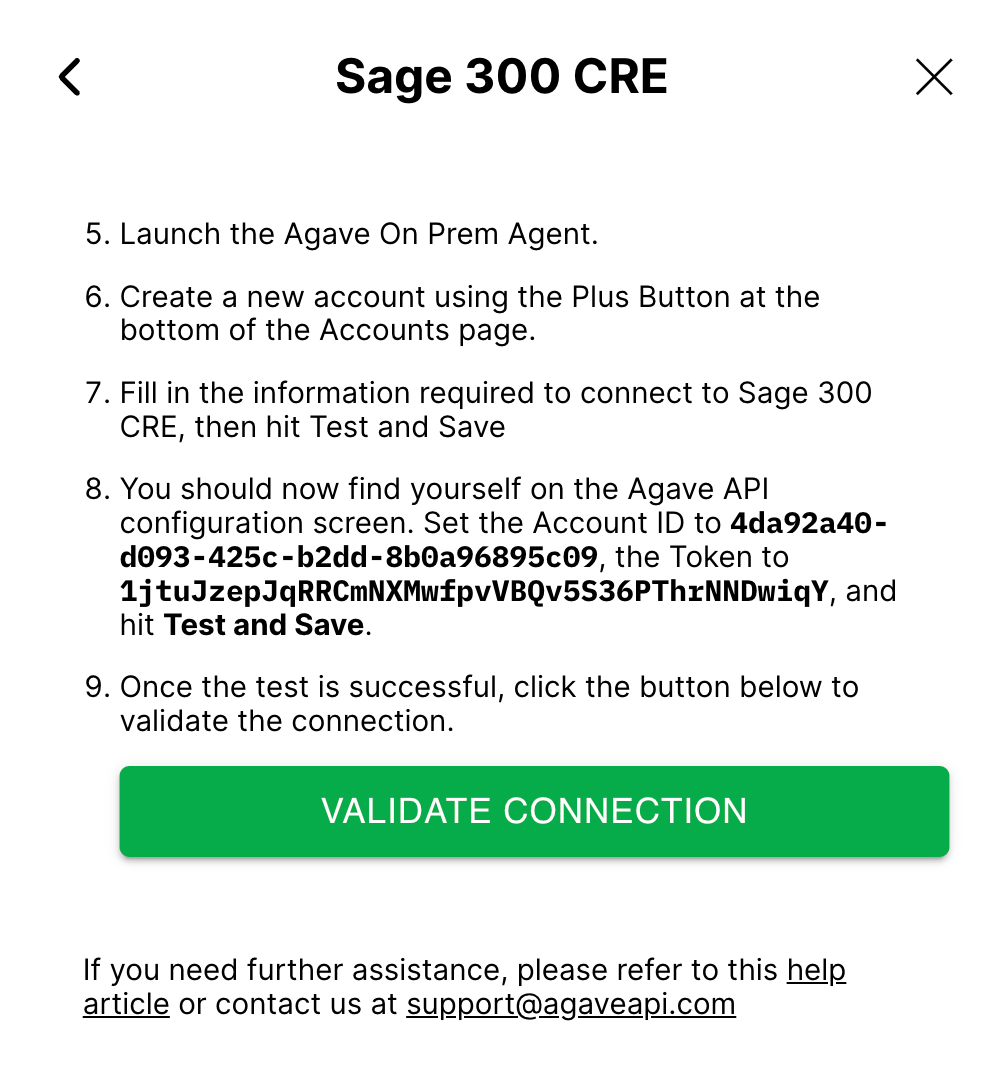
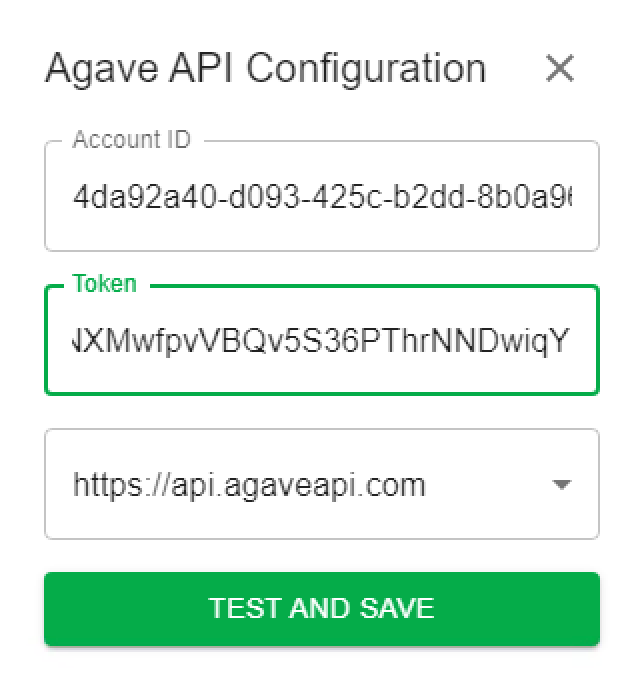
A new page for "Agave API Configuration" will open. Your user will need to return the Agave Link component, and copy and paste the Account ID and Token, then press "Test and Save":
-
Press “Validate Connection” in Agave Link. If the connection succeeded, Agave Link will close and you will be supplied with a Public Token to exchange for a permanent Account Token.
Step 5: Keep Agave Connector Open
You will need to keep the Agave Connector open to be able to continue to make API requests to Sage 300 CRE. Note, you can minimize the Agave Connector though.
If you plan to have Sage 300 CRE run after a user logs out of the server, we recommend setting an always-on Task Scheduler.