Viewpoint Jobpac Authentication
To authorize access to read and write data between your product and Viewpoint Jobpac using Agave, you or your customer will need to complete the following steps:
Step 1: Open a Case with Jobpac Customer Support
Your customer will need to open a case with their Jobpac Customer Support contact and request access to the Jobpac Connect API.
Their request should include the following details:
- The name of the application that will integrate with their Jobpac account using the Jobpac Connect API (e.g. Agave), and
- Written approval that they are comfortable with a $500 fee for provisioning the Jobpac Connect API.
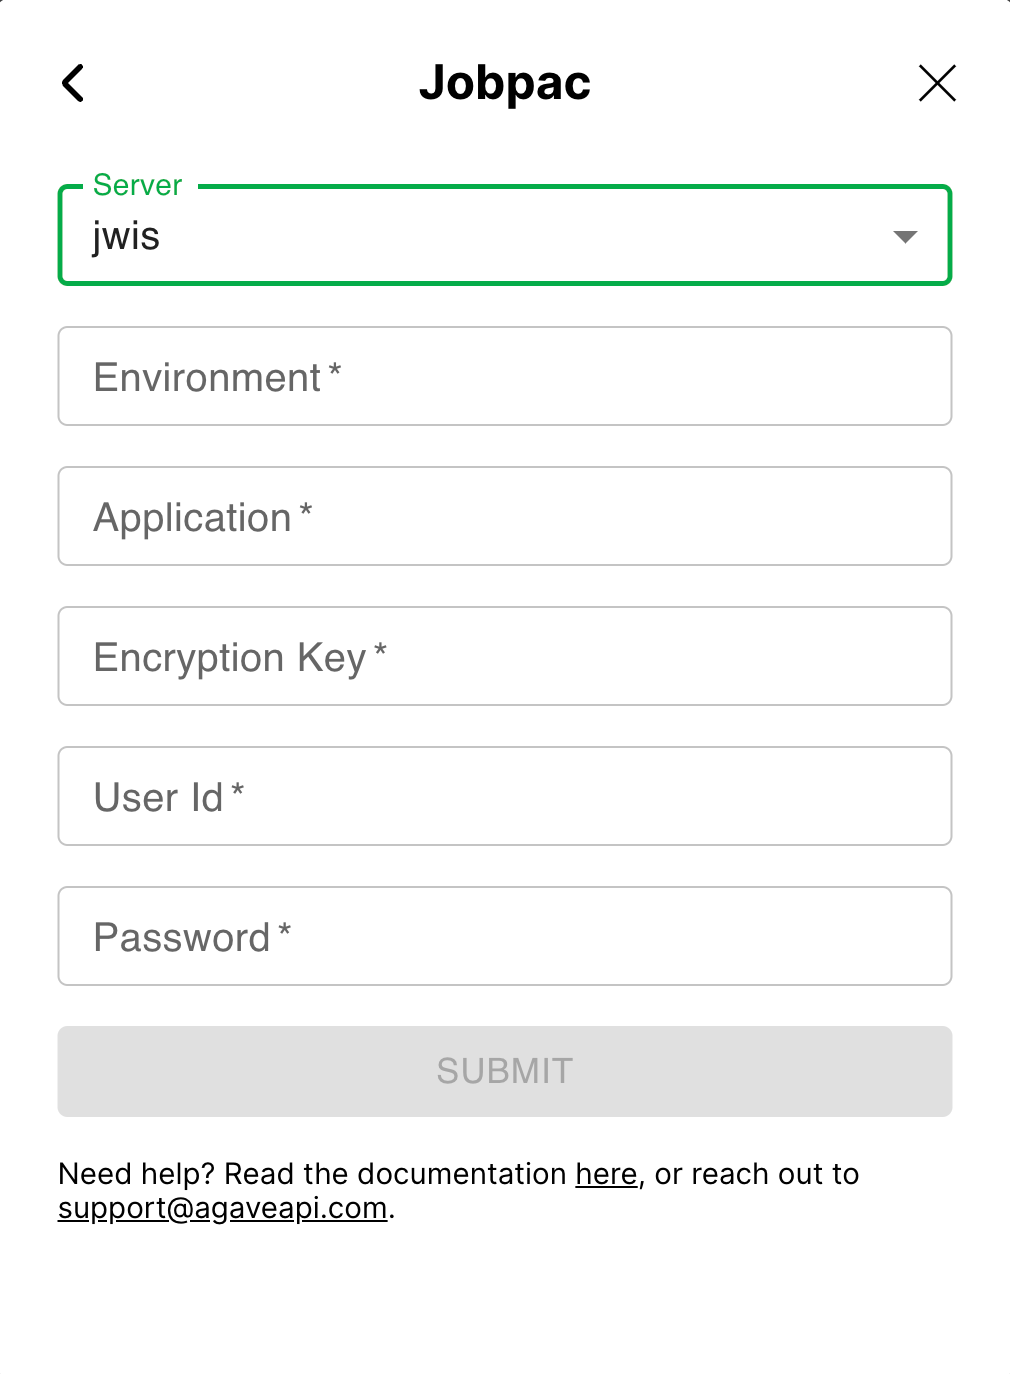
Step 2: Authenticate with Agave Link
After submitting the above case, Jobpac Customer Support will send your customer the following information. This information can then be used to authenticate with Agave using Agave Link:
- Server Name: this will be one of
jwis,jwis3, orjwis5. - Environment: Jobpac will set up an API environment that is unique to each customer.
- Application: this is the name of the application you provided in the case you opened with Jobpac Customer Support.
- Encryption Key: this is a value used to encrypt and decrypt a combination of values used in the authentication (e.g. "RBpraCL0S65SdZPa3hO2i2Es").
- User ID: Jobpac will set up a dedicated User ID for you for the API.
- Password: Jobpac will set up a password for the User ID.
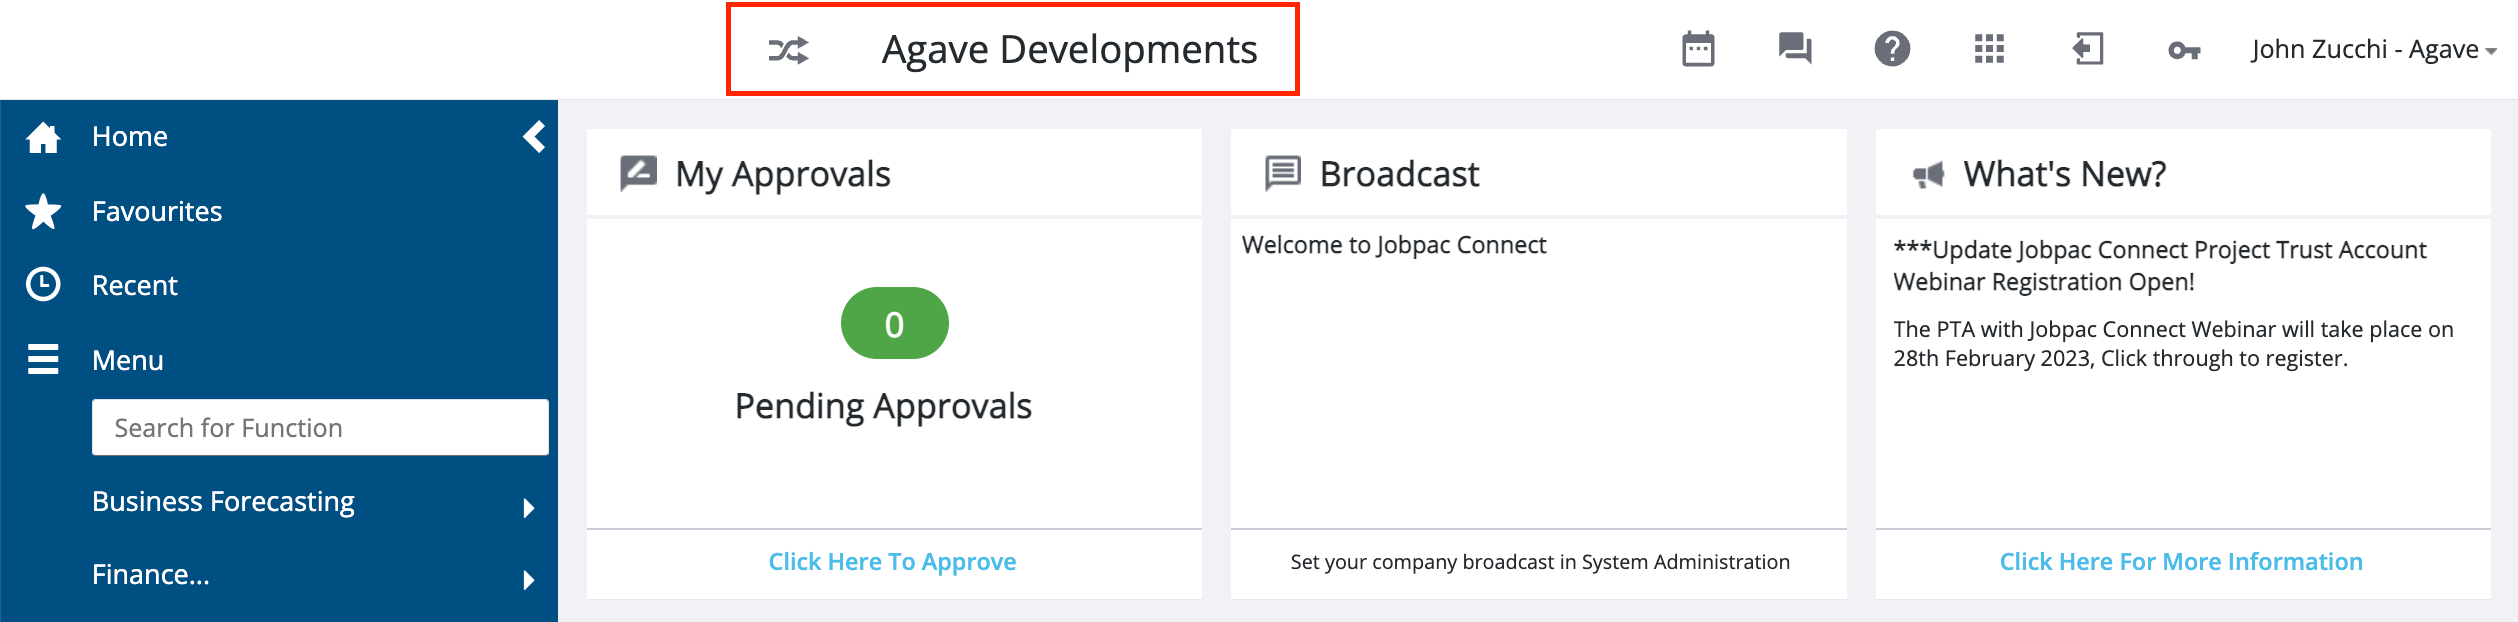
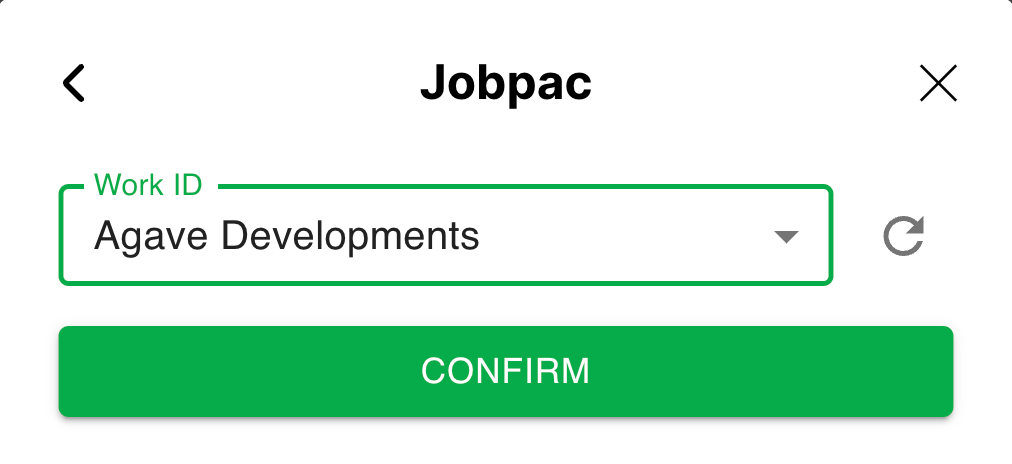
Step 3: Select Work ID
After authenticating, your customer will need to specify a Work ID. A Work ID is used to separate companies within the same Jobpac account.
A Work ID can be found at the top of each page in the Jobpac UI: