Sage Intacct Authentication
Step 1: Enable Web Services Subscription
To connect with Agave, you must have access to the Sage Intacct Web Services Module.
-
Contact your Sage Intacct account manager to enable the Web Services license. This "Web Services" license comes with a "Sender ID" and "Sender Password".
-
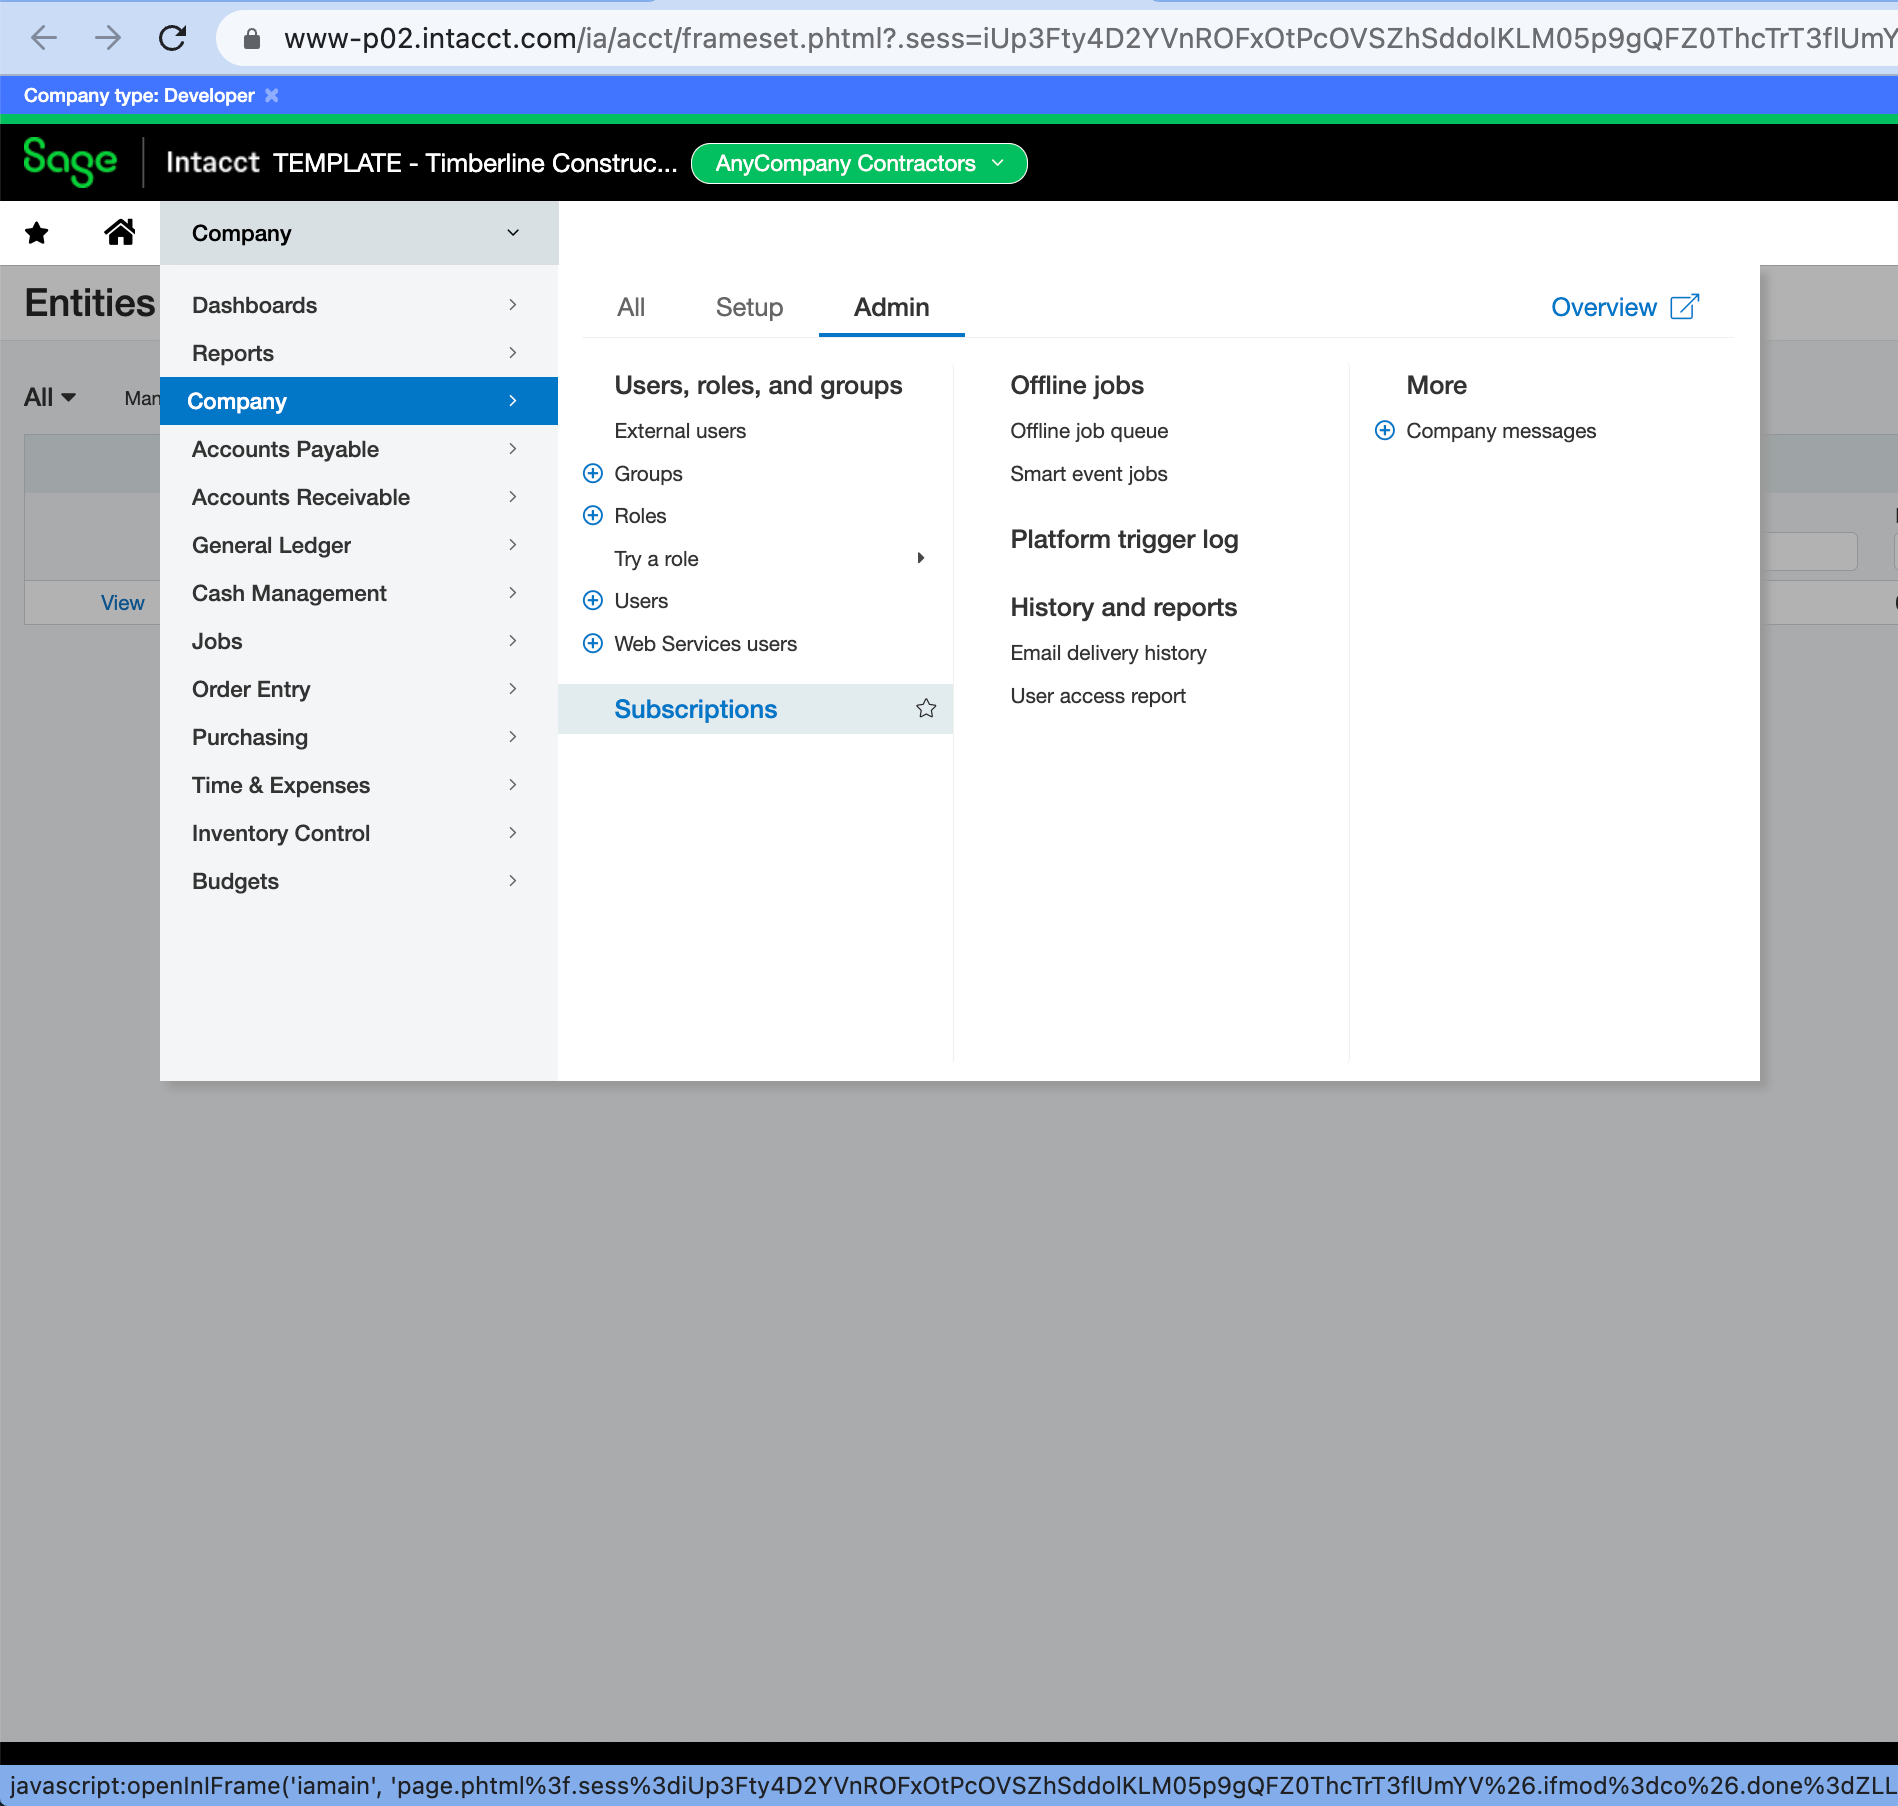
Enable the Web Services subscription under Company --> Admin --> Subscriptions.
-
Scroll to the bottom of the page and enable the Web Services subscription.

Step 2: Authorize Web Service Sender ID
To authorize your Web Service Sender ID:
-
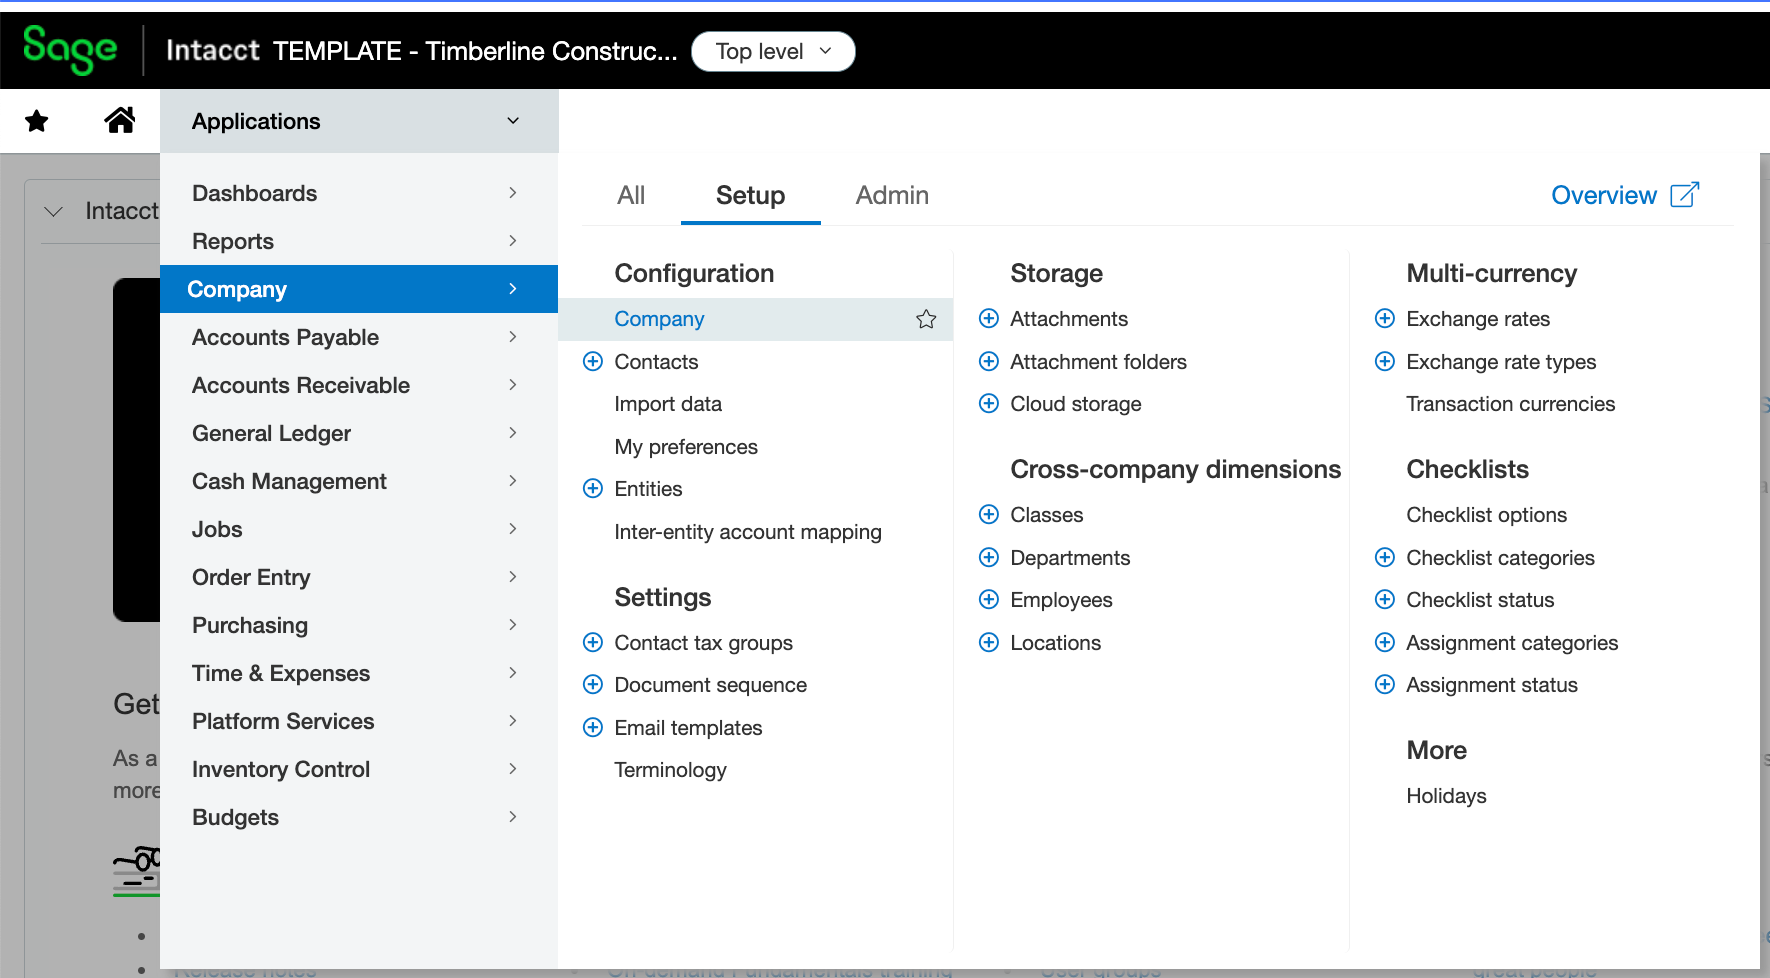
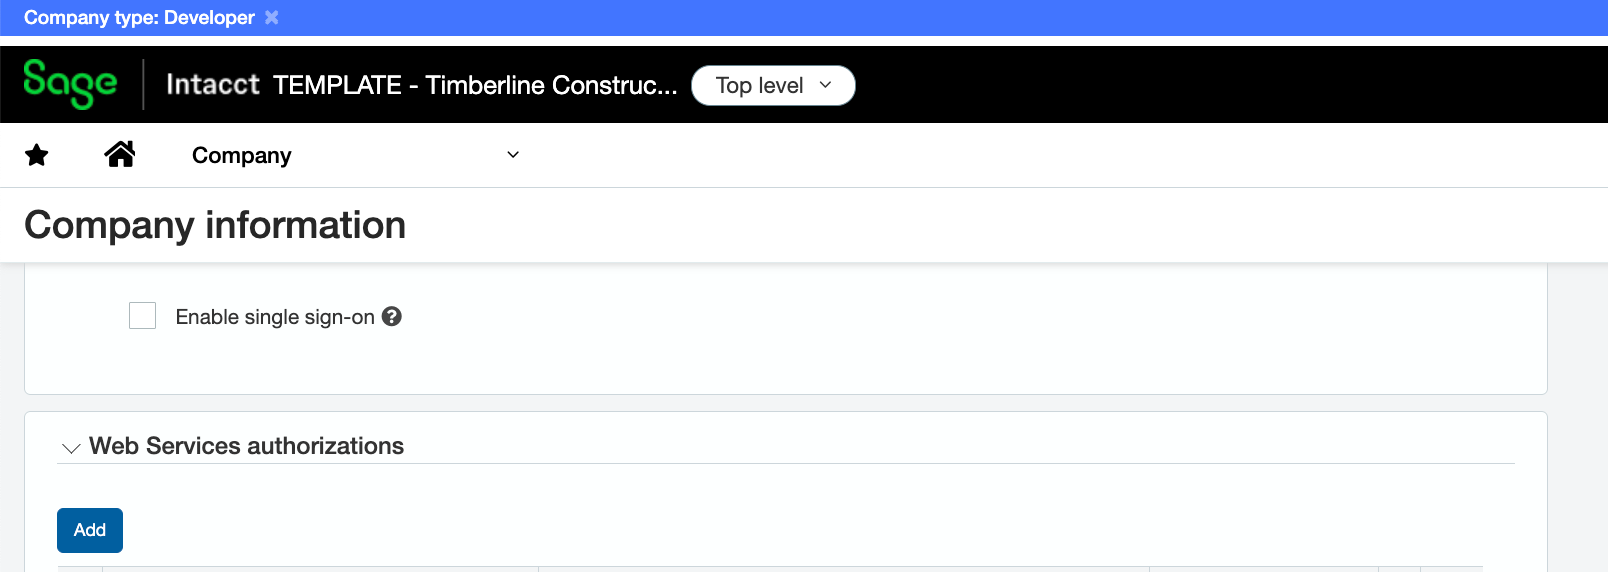
Select Company --> Setup --> Company (under Configuration).
-
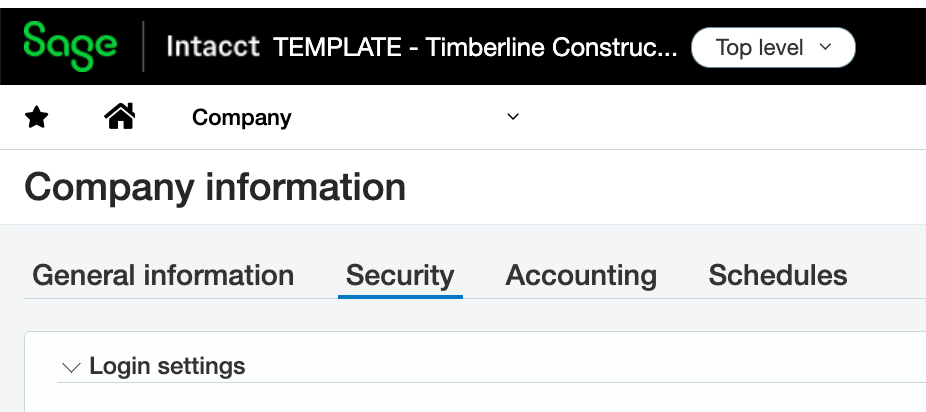
Select Security.
-
Scroll down to Web Services Authorizations, and press Add.
-
Input details for your Sender ID and press Save.
Step 3: Create Web Services User
A Web Service User allows Agave to read and write data to and from Sage Intacct without needing to log in to the Sage Intacct UI.
To create a Web Service User:
-
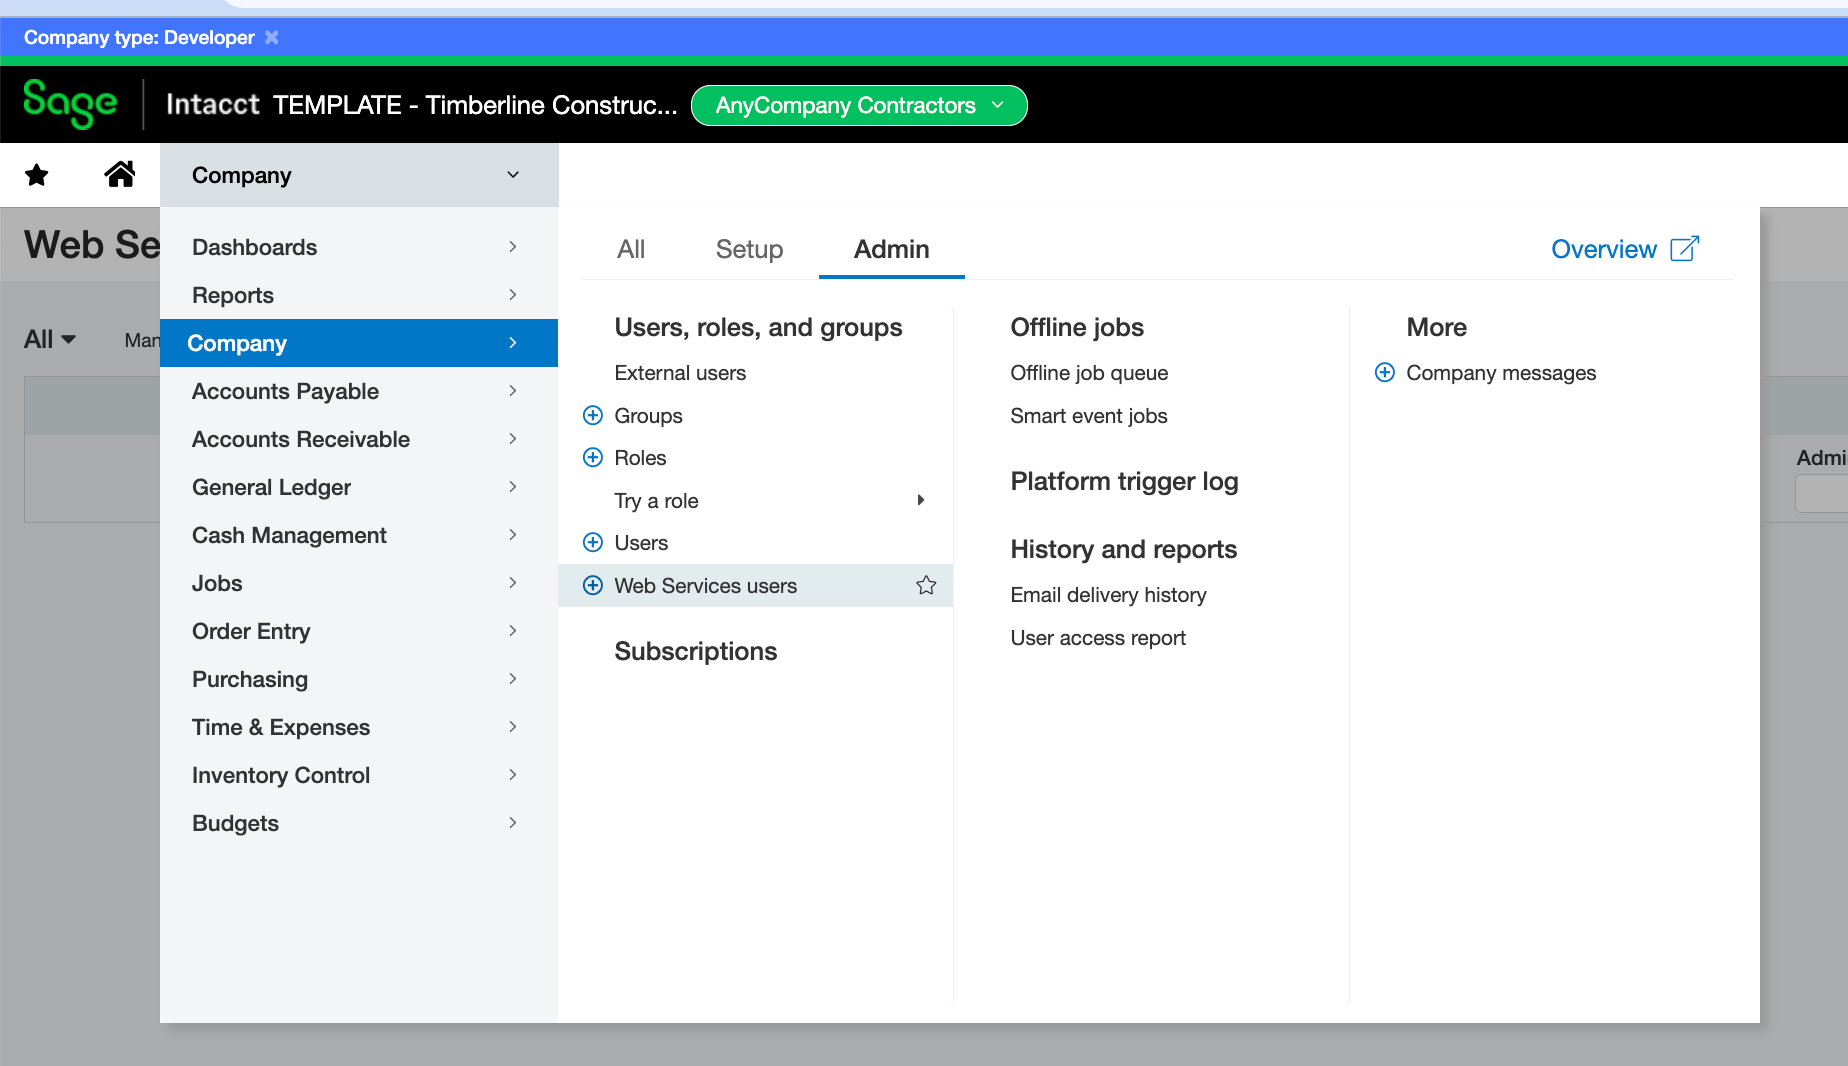
Select Company --> Company --> Web Service Users:
-
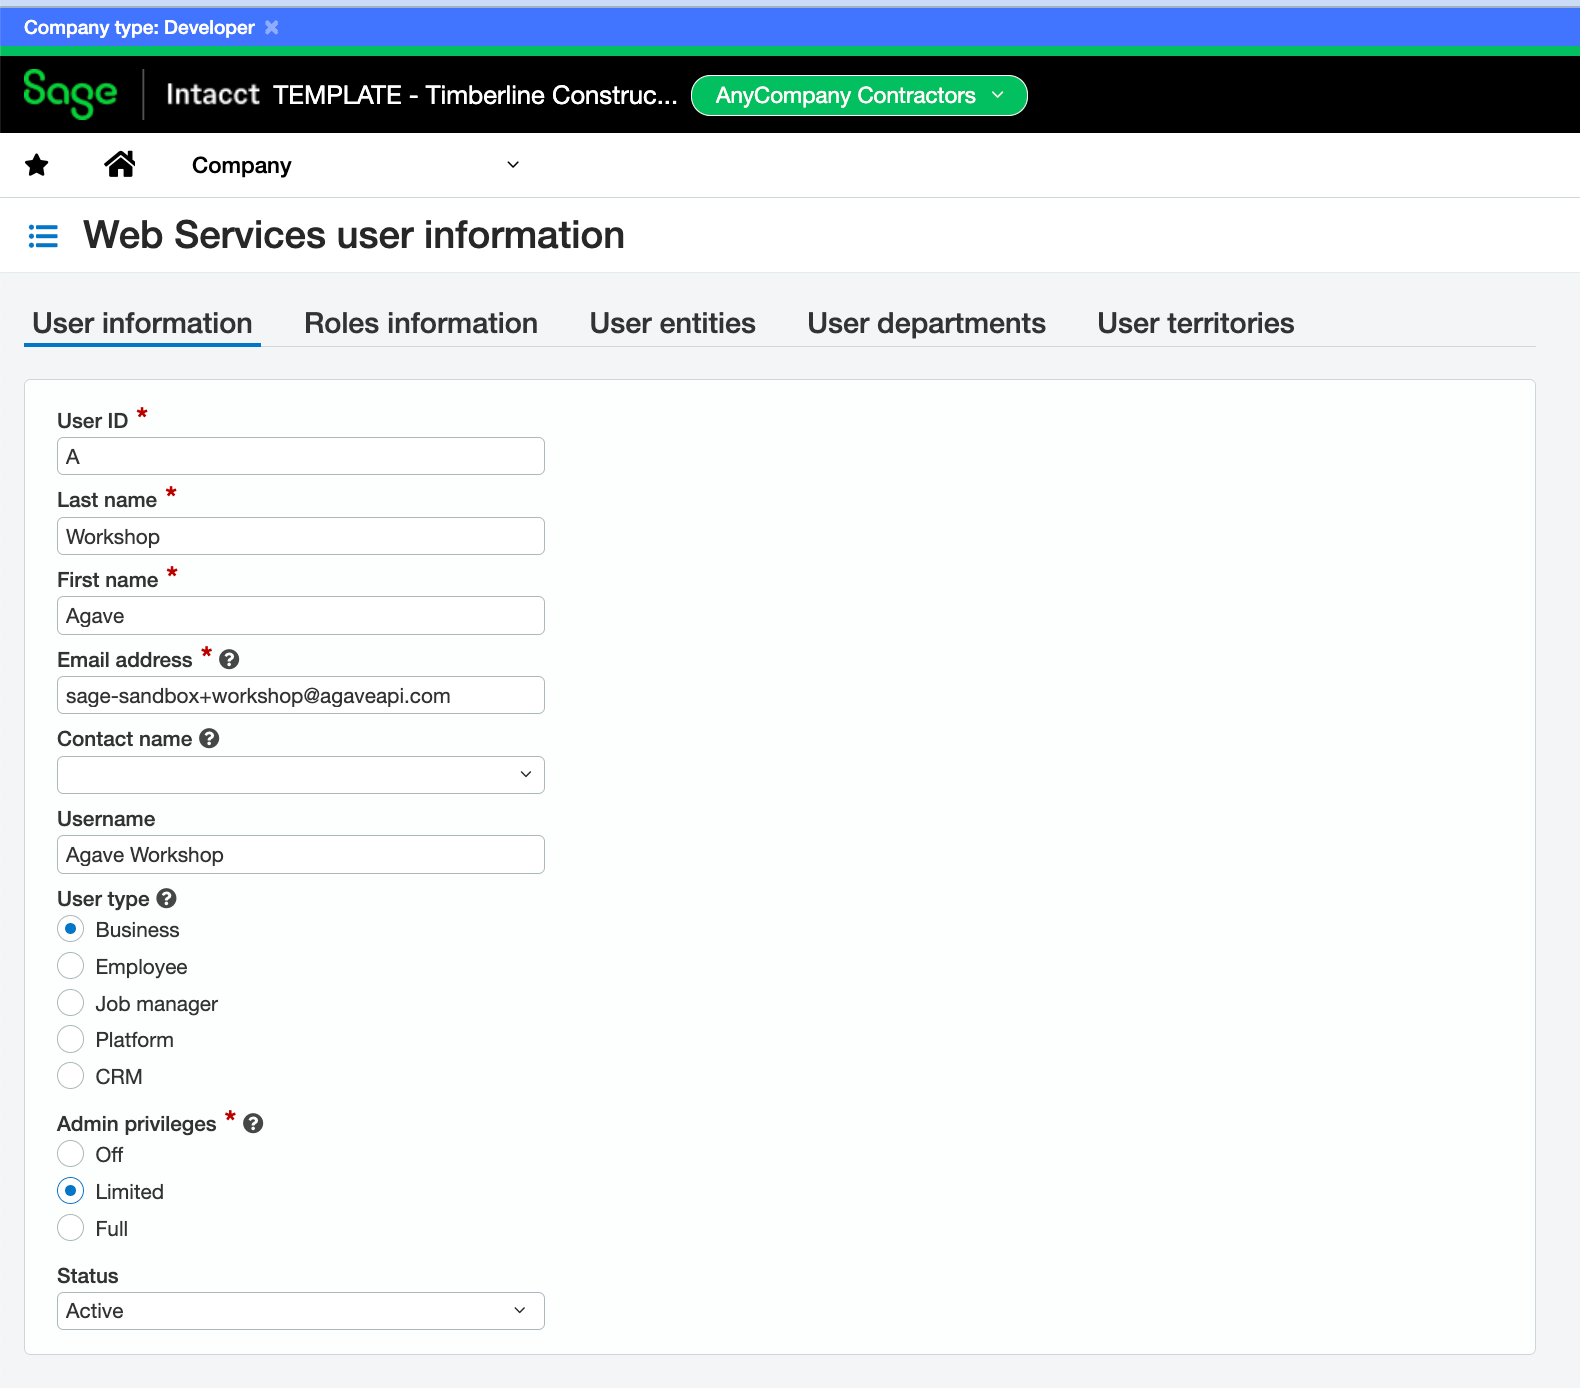
Add details on the Web Service User:
-
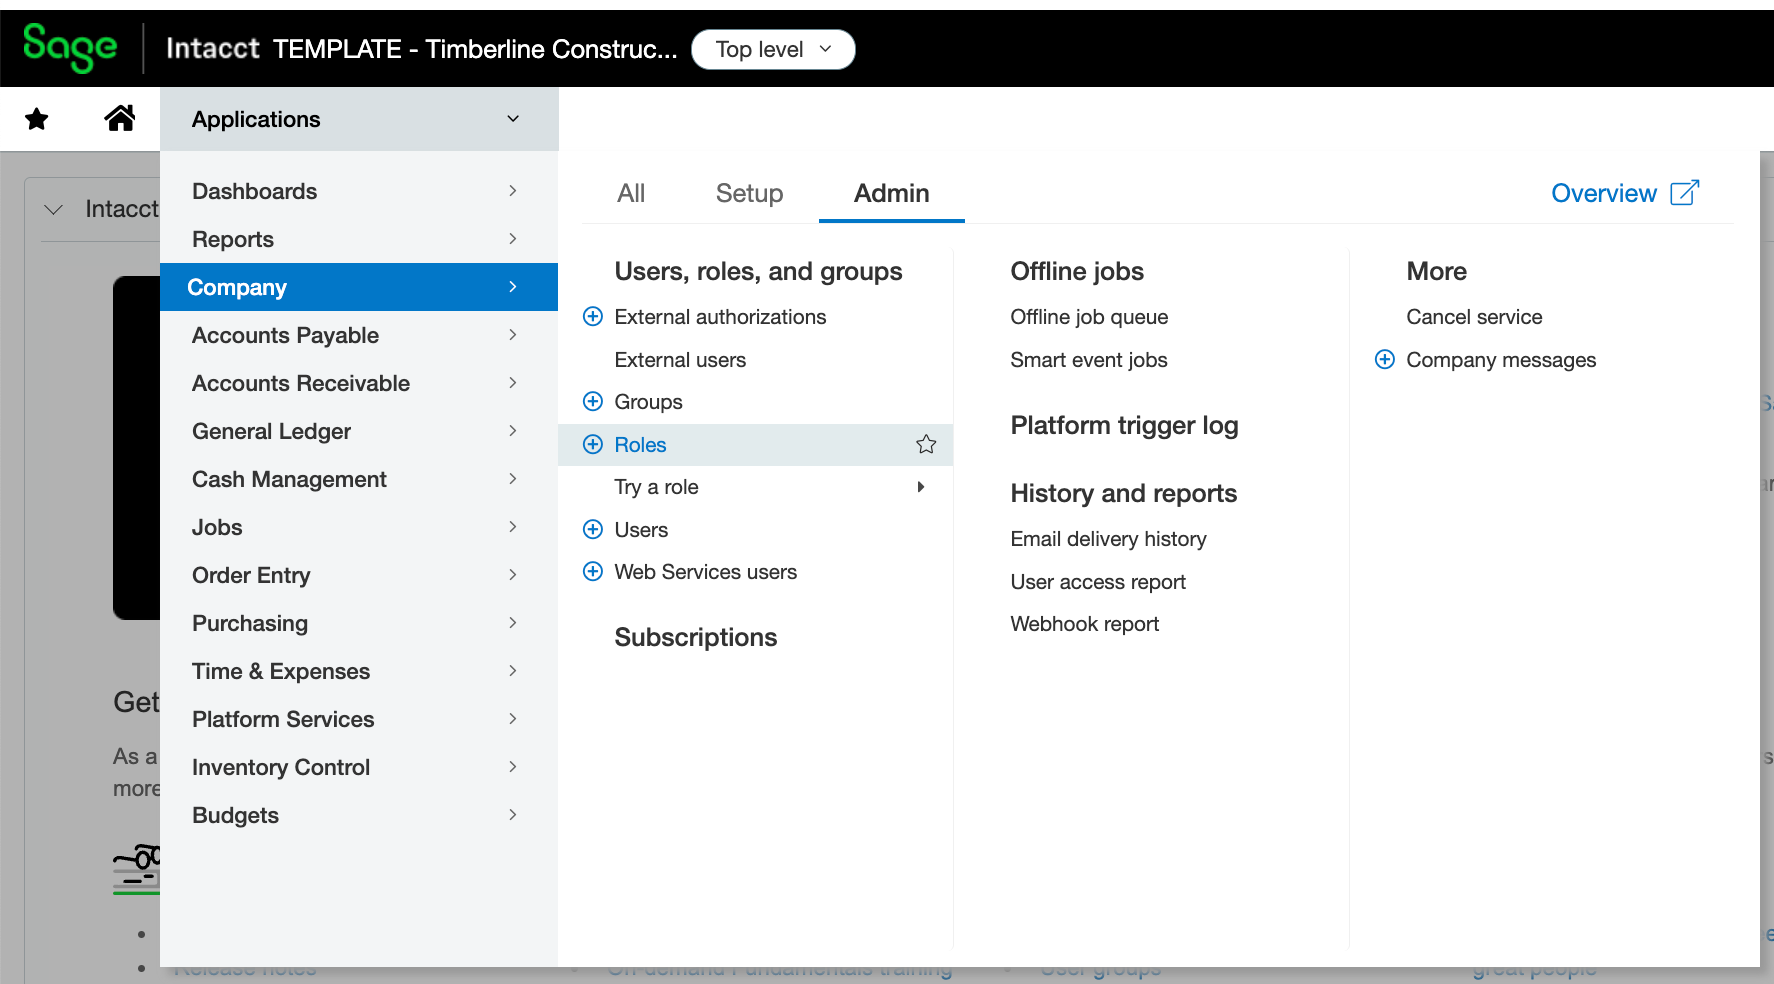
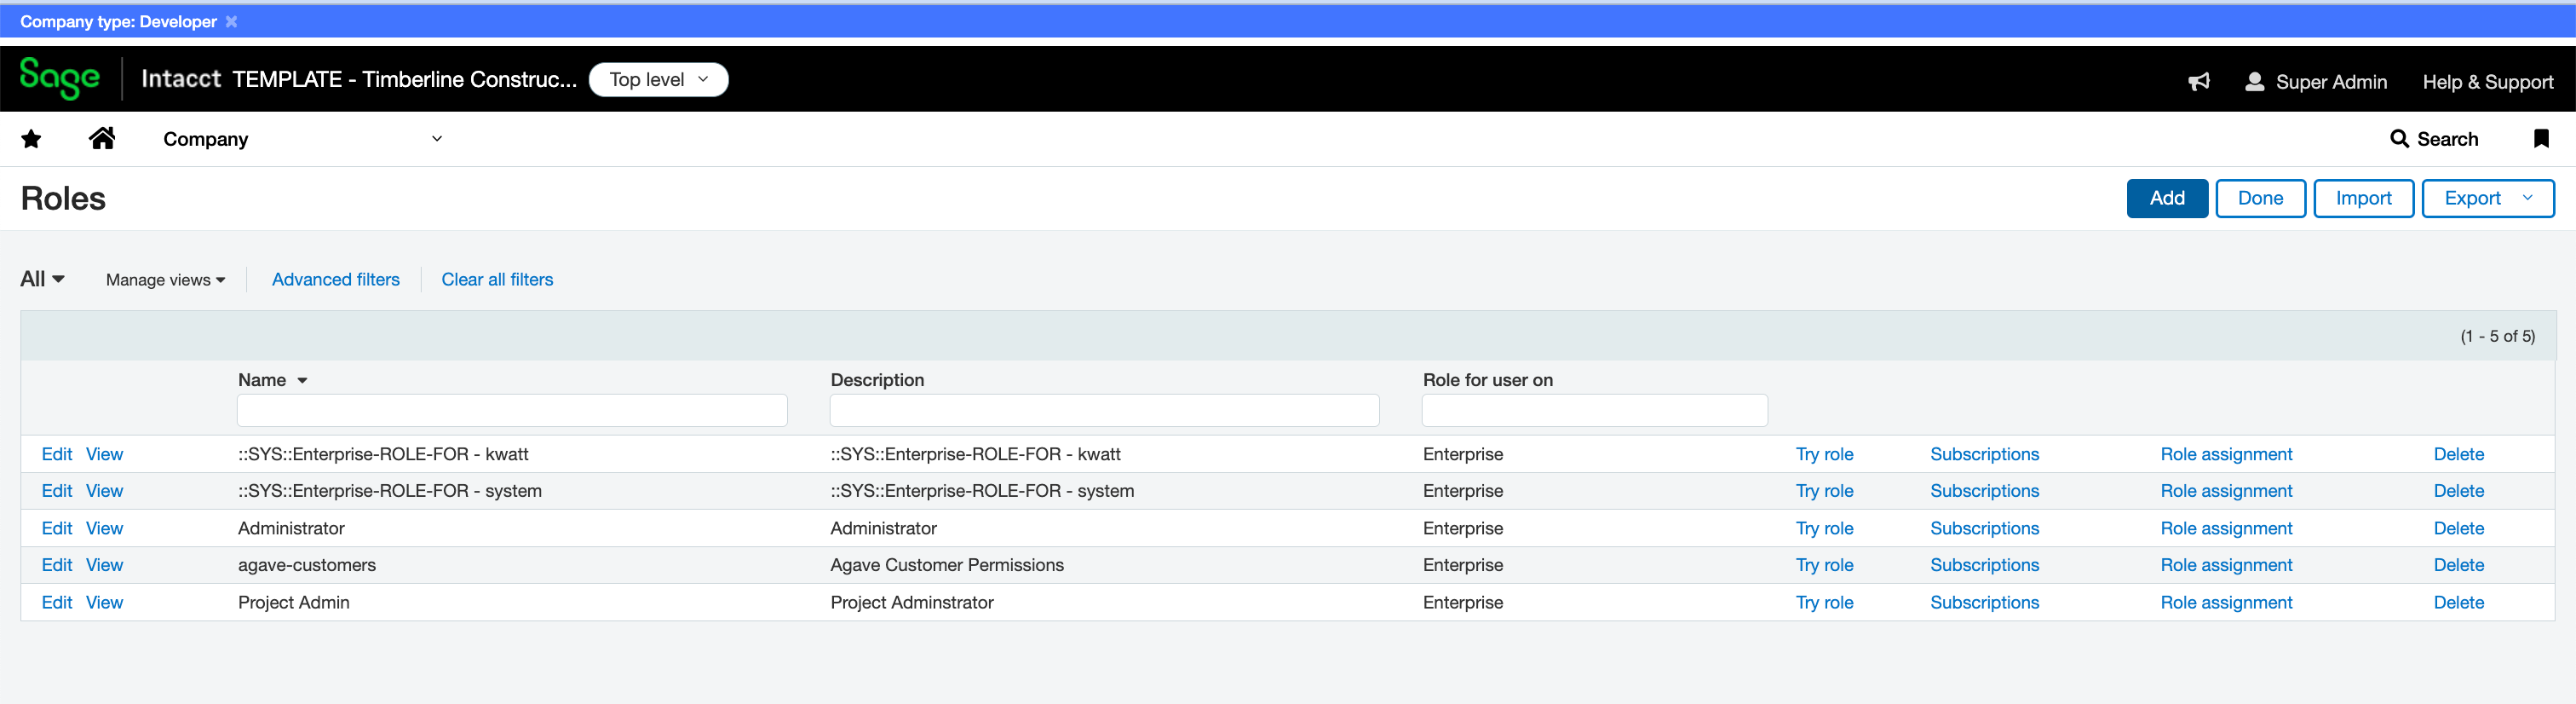
To ensure the Web Service User has the proper permissions, go to Company --> Admin --> Roles:
-
Select Add:
-
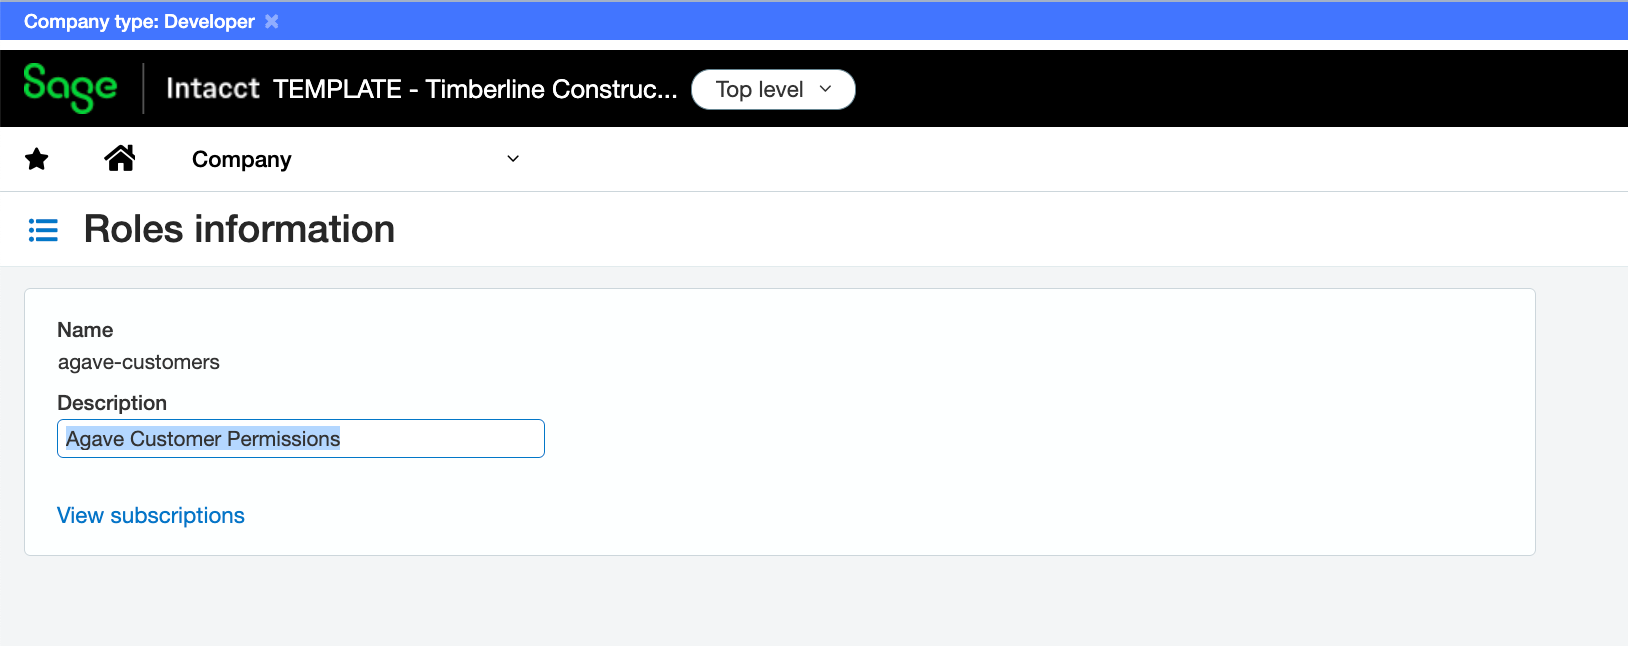
Add a Description for the Role:
-
Select View Subscriptions, and select the relevant Permissions you want to enable and press Save:
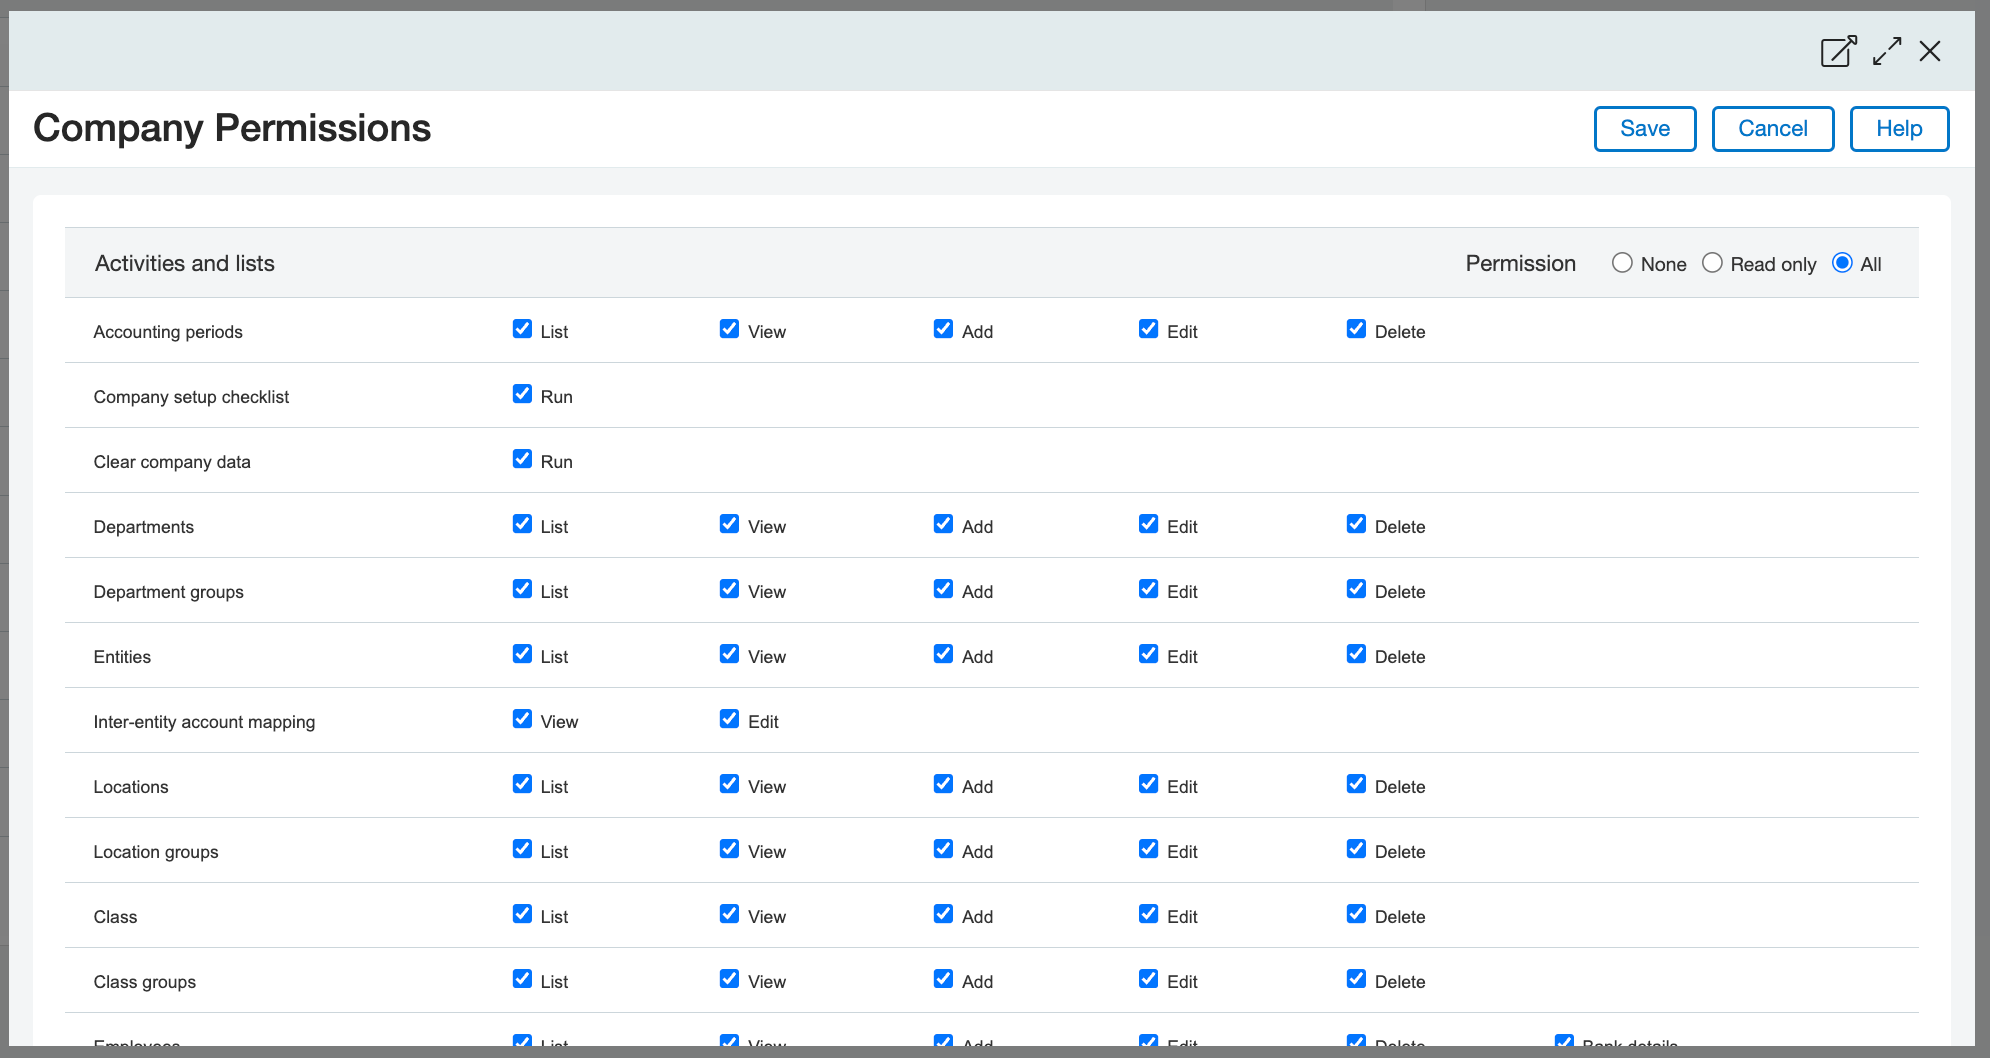
Depending on your integration needs, you will likely want to enable the Company, General Ledger, Accounts Payable, Accounts Receivable, Jobs, Order Entry, and Purchasing modules.
-
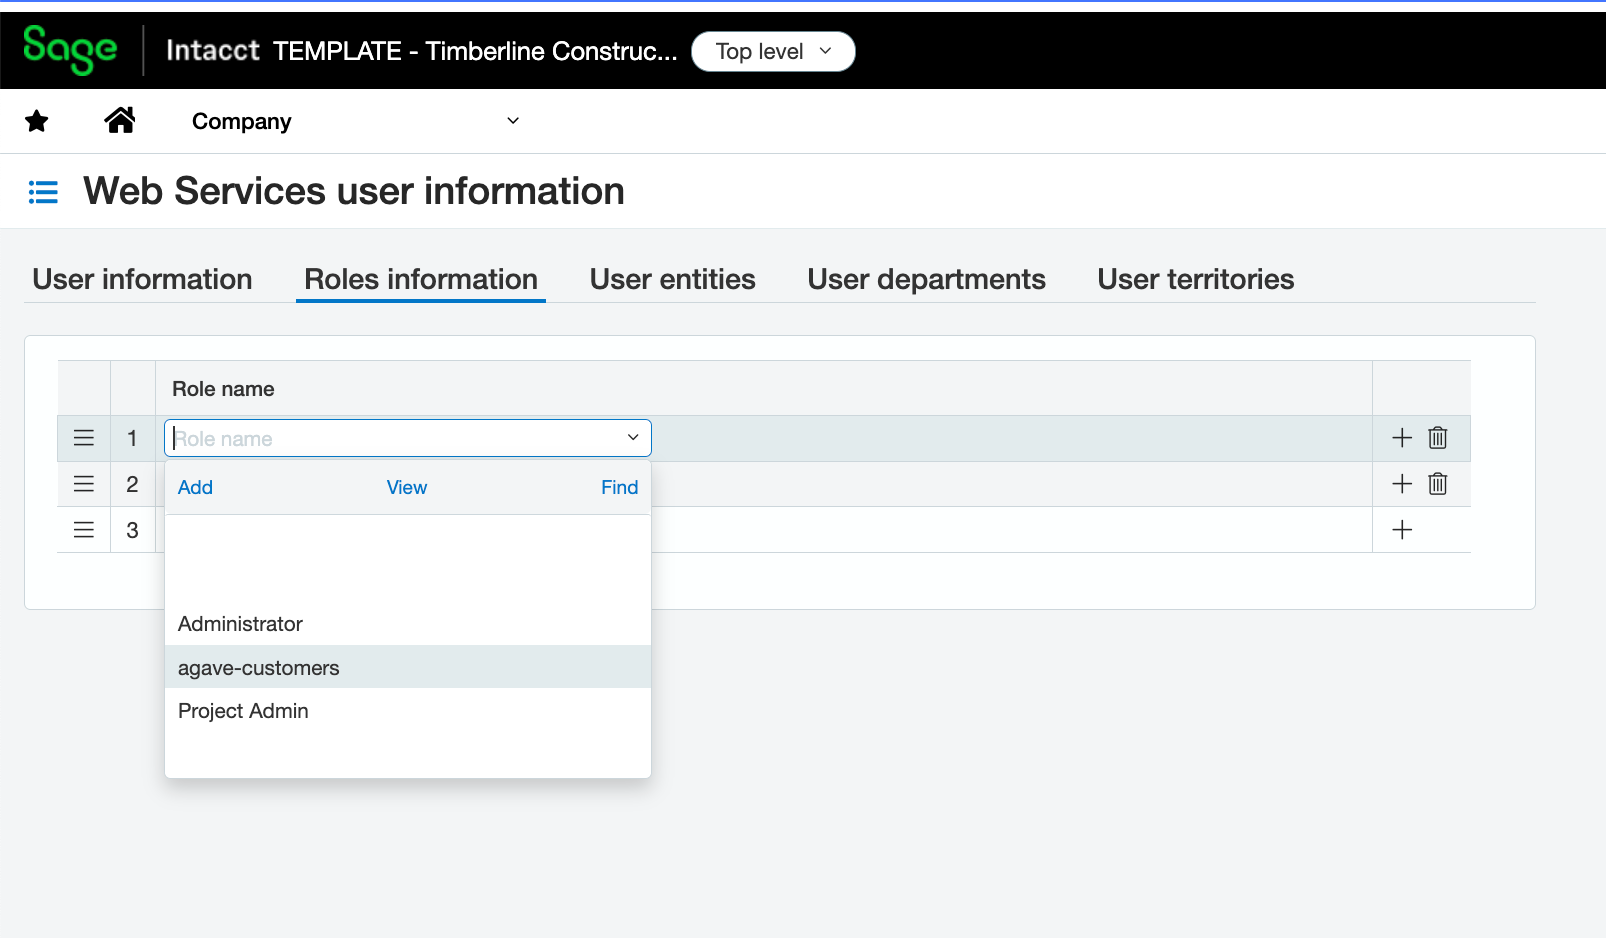
Return to the Web Service User page. Under the Roles Information tab, add the above Role for the Web Service User:
Step 4: Authenticate with Sage Intacct
For a user to authenticate with Sage Intacct from your product, they will need to complete the following steps:
-
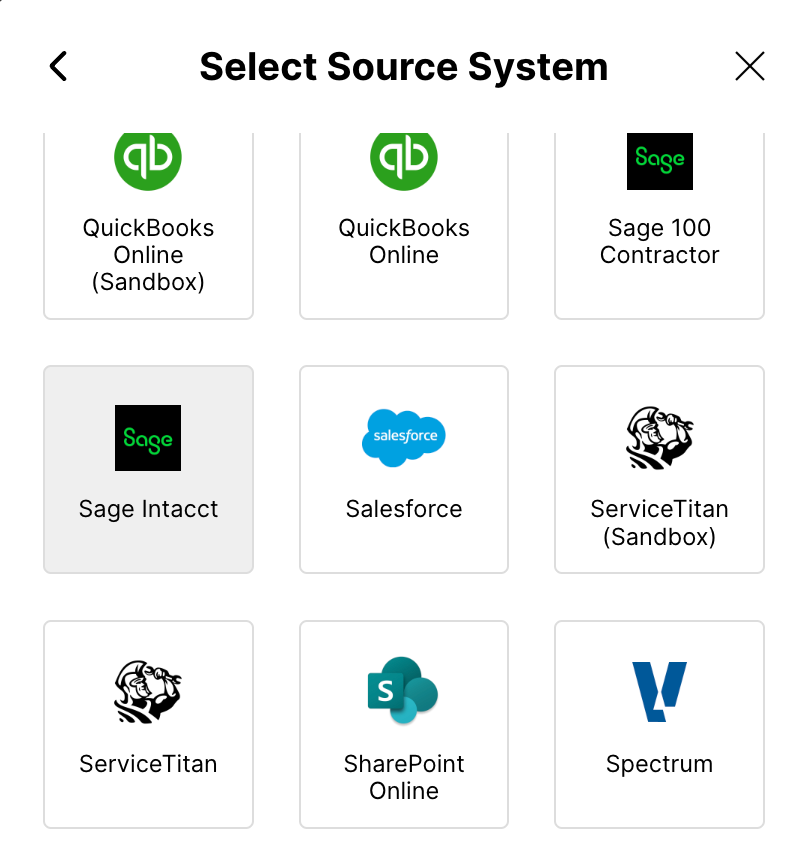
From your application, open Agave Link and press “Sage Intacct”:
-
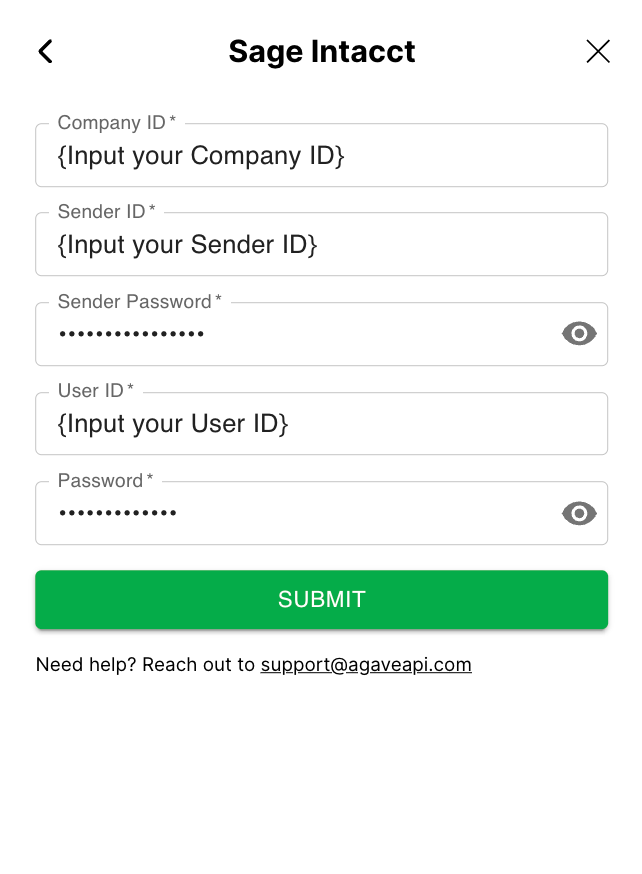
Input details for connecting to your Sage Intacct account, including the:
-
Company ID: see below for details on how to retrieve your Company ID.
-
Sender ID: this is the Web Service Sender ID provided by Sage Intacct.
-
Sender Password: this is the Web Service Sender Password provided by Sage Intacct.
-
User ID: this is the Web Service User ID you created above.
-
Password: this is the password for the Web Service User.
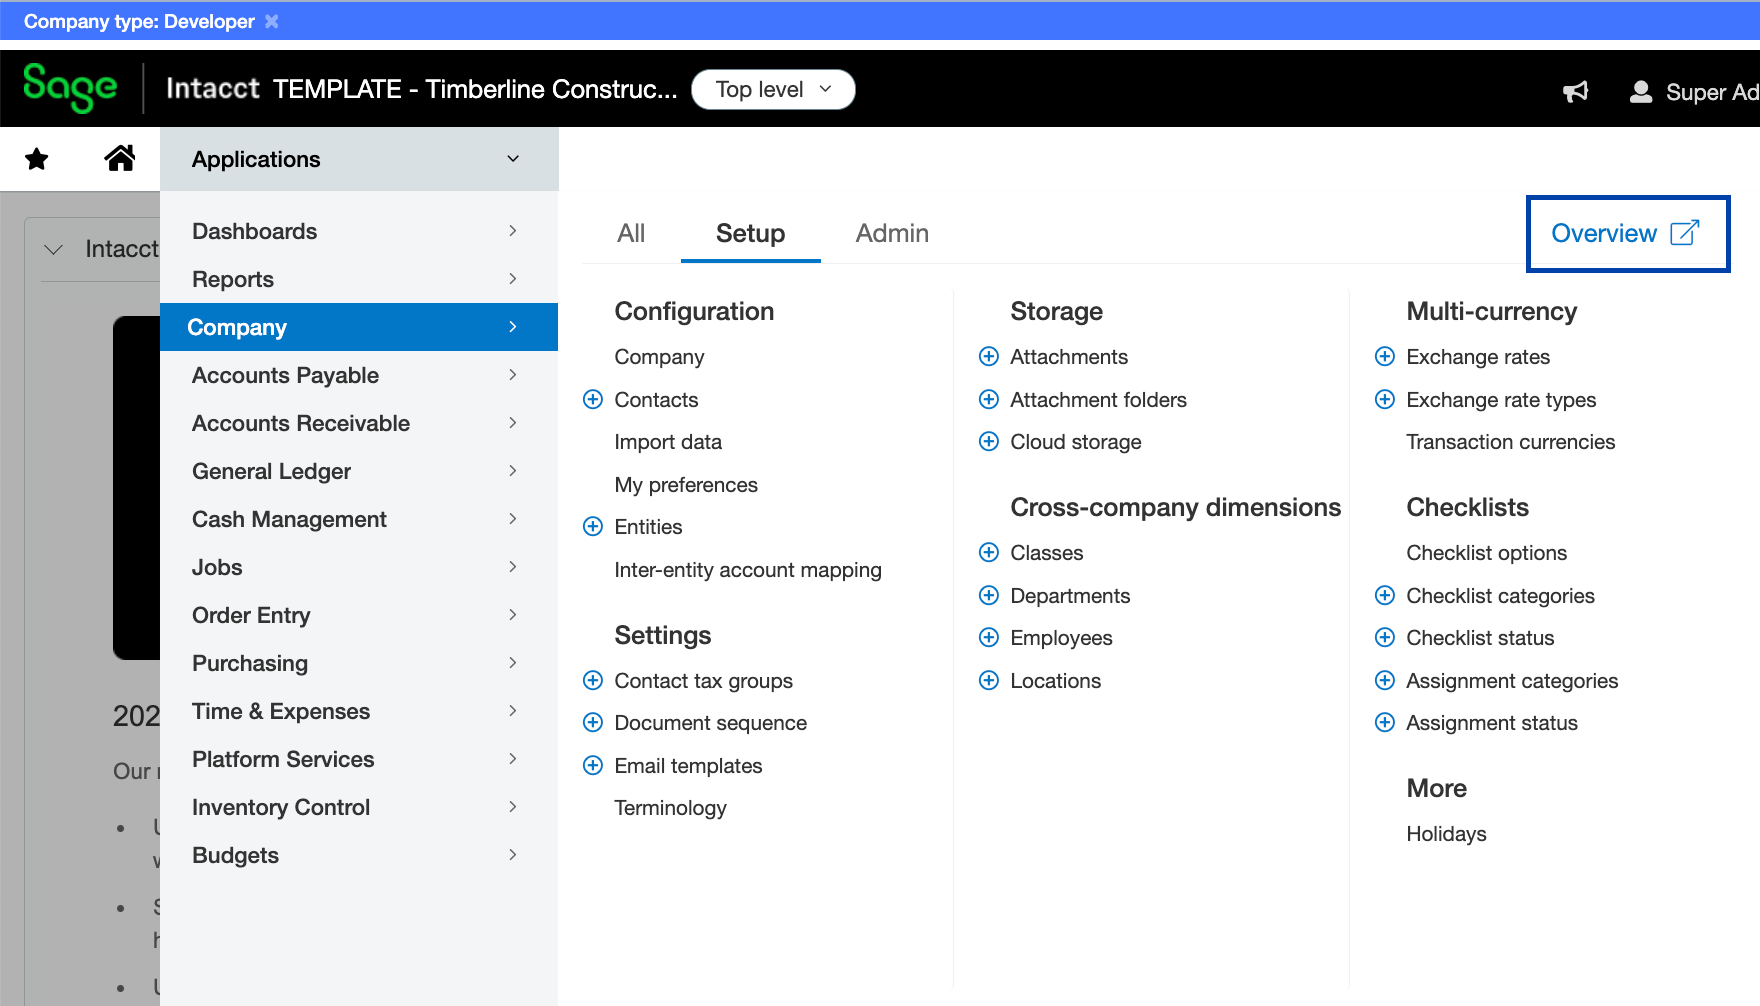
To determine your Company ID, select Applications-->Overview:
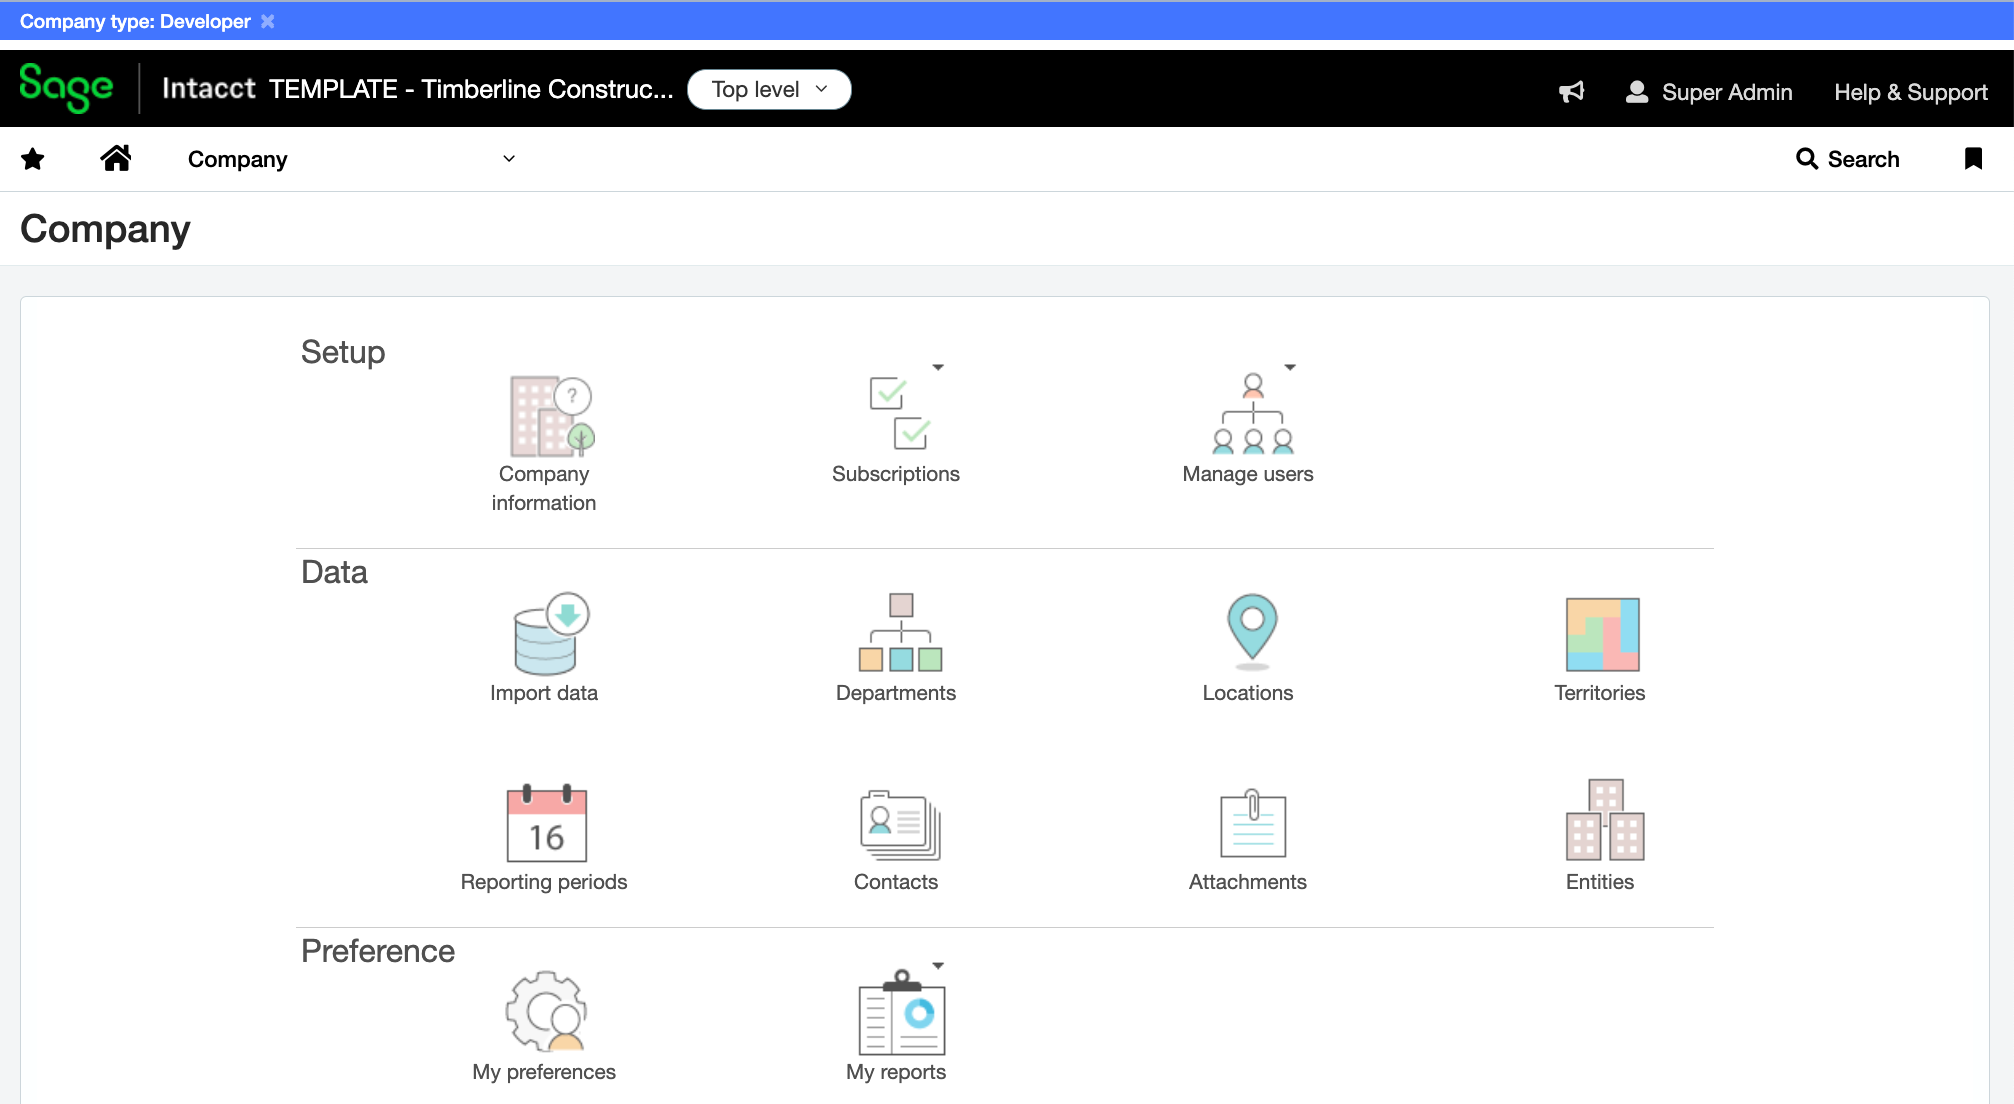
Then select Company Information to see your Company ID:
-
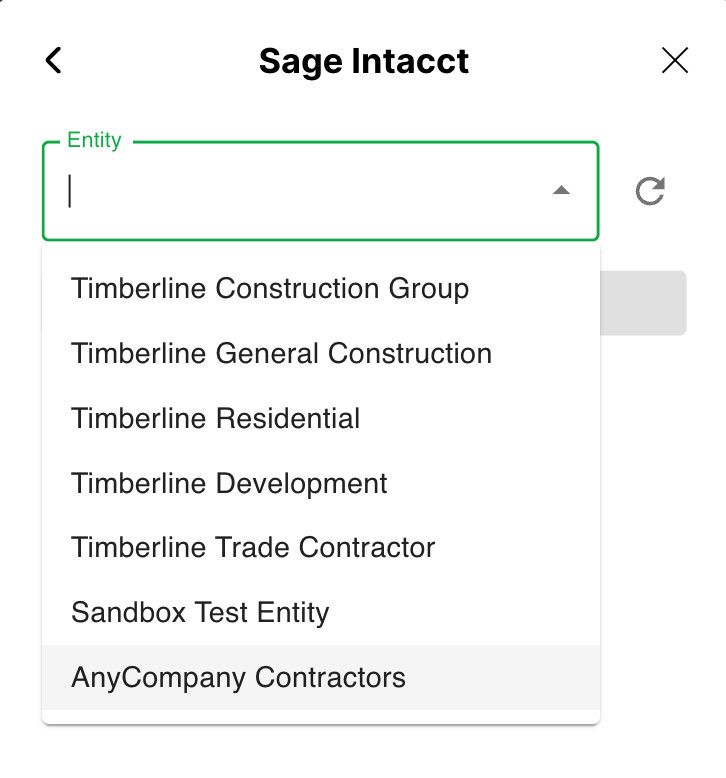
Press Submit. On the next screen, select an Entity and press Confirm: